Are you tired of constantly reaching for plastic wrap to keep your food fresh? Do you want a more sustainable and eco-friendly kitchen? Like many home cooks, I love to prepare meals and share them, but the amount of plastic wrap used always bothered me. Searching for a better way led me to discover beeswax wraps for food, and they’ve been a total game changer in my kitchen! These reusable wonders are not only perfect for covering bowls and plates, but also for wrapping fruits, vegetables, cheese, and even as a lid for your favorite mason jar. Inspired, I decided to try making my own beeswax wraps, embarking on a DIY adventure that turned into weeks of delightful experimentation to find the absolute best method.
What began as a simple project using my stash of beeswax for homemade salves, quickly evolved into a quest to perfect the homemade beeswax wrap. There were countless recipes online, each promising to be the best, but my first attempts fell short of my expectations. Undeterred, I dove deeper, determined to create beeswax wraps that were not only effective but also easy to make.
In my kitchen laboratory, I experimented with various sizes – large squares (14 inches), medium squares (10 inches), and even circles for my go-to mixing bowl. I even tried sewing snack bags to wax later (sewing before waxing is definitely the way to go, and pinking shears are your friend to prevent fraying!). Through trial and error, I explored different ingredient combinations, and now I’m excited to share my journey and the ultimate DIY beeswax wrap recipe with you.
First Try: Beeswax Solo
Pinterest was overflowing with simple beeswax-only recipes. Seemed easy enough, right? I cut a fabric square, sprinkled beeswax pastilles on top, and popped it into the oven. The wax melted quickly, allowing me to brush it for even coverage. It set fast too, but the result? A super stiff wrap lacking the essential stickiness of plastic wrap. And when I tried to mold it around a bowl, crack! Strike one.
Second Try: Beeswax & Jojoba Oil
My store-bought beeswax wraps listed beeswax and jojoba oil as ingredients. This combination sounded simple and promising. Another fabric square prepped, beeswax and jojoba oil into a double boiler, melt, brush, oven, brush again. Attempt two was a step up. These wraps were more flexible and could form around a bowl, but still, no stickiness to themselves or the bowl. Strike two.
Third Try: Beeswax & Coconut Oil
After the jojoba oil experiment, I wasn’t convinced coconut oil would be much different. But surprise! It actually worked! The wraps were flexible, sticky, and easy to make. However, they left a noticeable coconut oil residue on everything, and cleaning it off, especially from mason jar lids, was a workout. Not a complete failure – it worked, but messy. Maybe a lucky bunt in the beeswax wrap game?
Fourth Try: Beeswax, Jojoba Oil, & Copal Resin
My purchased wraps also contained pine resin. Copal resin, being similar, seemed like a viable substitute, and I had some wildharvested copal on hand. And guess what? It worked! This blend ticked all the boxes, and I was thrilled with the initial results. I even shared this recipe in an earlier version of this blog post.
However, feedback from friends revealed a downside: copal resin took ages to melt, and some users struggled to melt it at all, especially if they didn’t get their copal from Mountain Rose Herbs. Since a user-friendly recipe with consistent results was key, back to the drawing board I went.
FIFTH & FINAL TRY: BEESWAX, JOJOBA OIL, & PINE RESIN
Despite my initial hesitation towards pine resin, I realized there must be a reason many commercial wraps use it. Turns out, there is! Pine resin melted much faster than copal, and recipe testers found it worked more reliably. While we don’t currently sell pine resin at Mountain Rose Herbs, it’s important to choose sustainably sourced pine resin to protect these vital trees and ecosystems.
With immense pleasure (and relief!), I present to you the BEST DIY reusable beeswax wrap recipe! The finished wraps feel just like the ones I bought and are completely customizable in shape, size, and color!
The BEST Reusable Beeswax Wrap Recipe
Makes (2 to 3) 12 x 12 inch cloths.
Ingredients
- 100% cotton fabric, organic preferred
- 0.35 oz. sustainably sourced pine resin
- 1.25 oz. beeswax pastilles or grated beeswax
- 1 Tbsp. organic jojoba oil
- Large popsicle stick or compostable stirrer
- Parchment paper
- Dedicated paintbrush
Directions
- Wash and dry your cotton fabric.
- Cut the fabric into your desired shapes and sizes.
- Combine pine resin, beeswax, and jojoba oil in a double boiler or glass measuring cup in a saucepan.
- Add water to the saucepan until it reaches below the waterline of the double boiler or measuring cup. Heat on medium-high.
- Preheat oven to 300°F (150°C).
- Let the ingredients melt and combine, about 20-25 minutes.
- Line a large cookie sheet with parchment paper, larger than your biggest fabric piece.
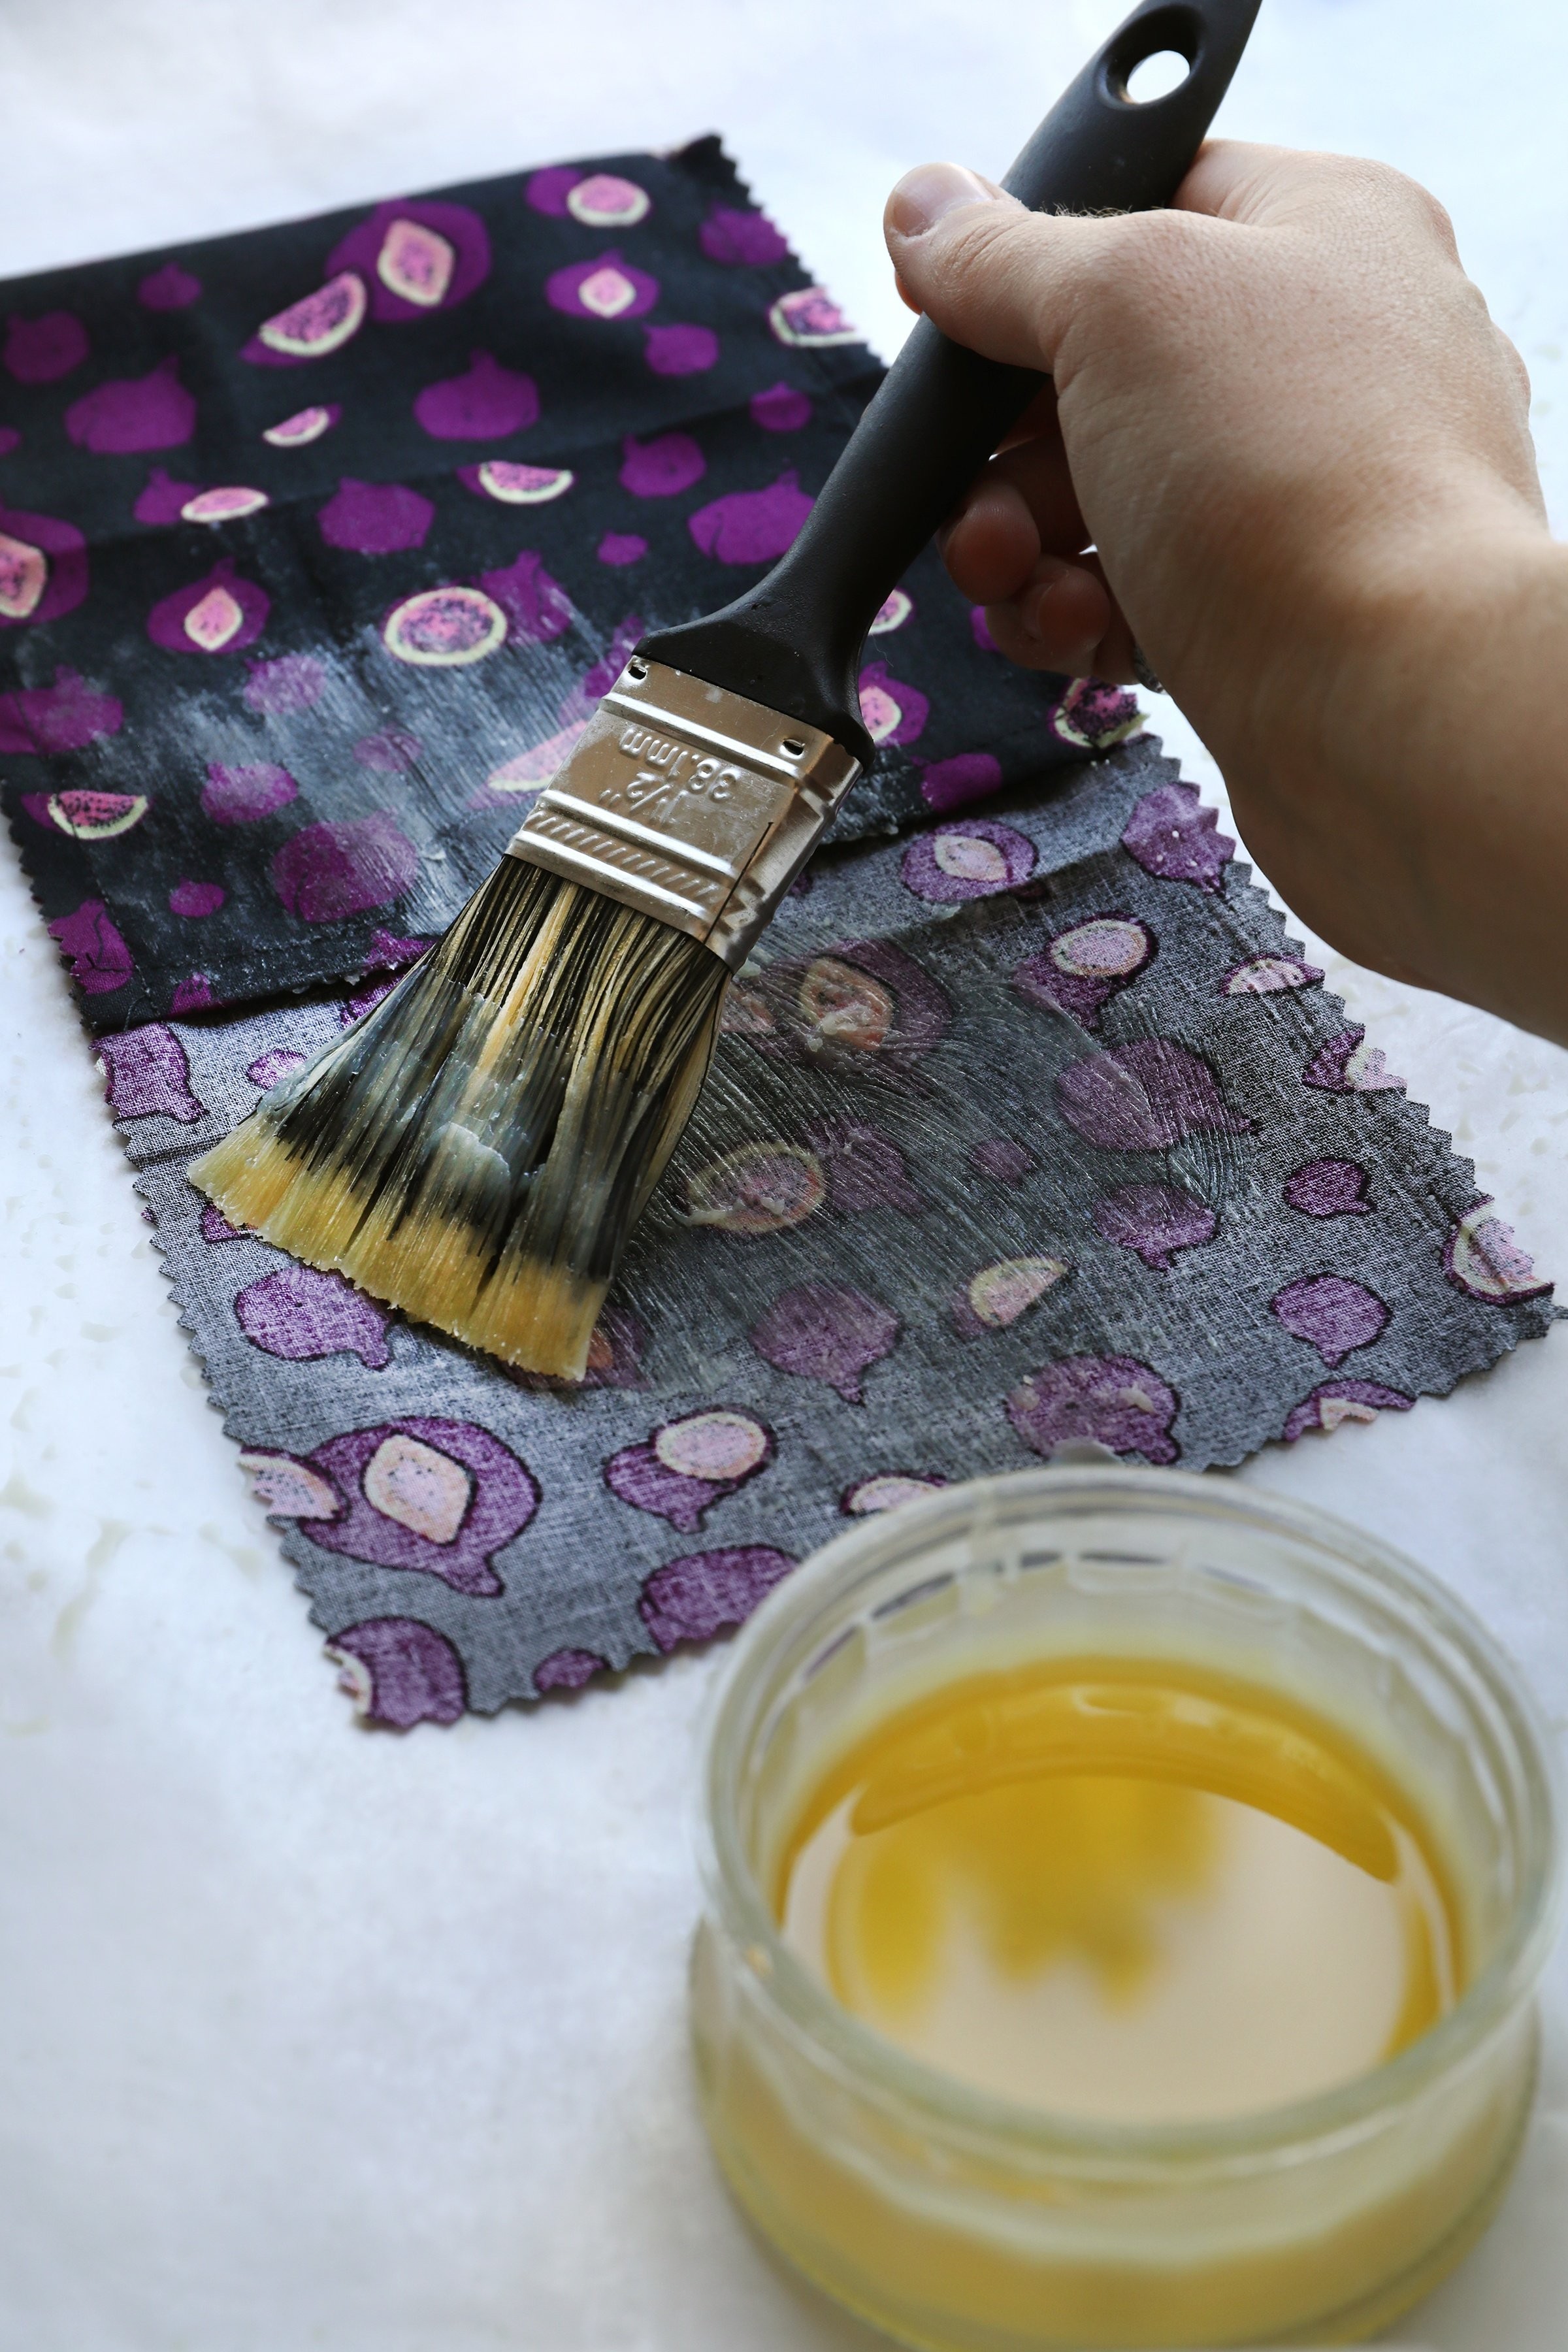
- Lay a piece of fabric flat on the parchment paper.
- Lightly brush the mixture onto the fabric. It might solidify quickly, which is okay, you can redistribute it later. It’s better to under-saturate initially, as adding more is easier than removing excess.
- Bake in the preheated oven for 2 minutes, or until the fabric looks wet.
- Remove from the oven and check for dry spots. Brush mixture over any dry areas, adding more coating if needed. For unevenness after adding more, return to the oven for a few minutes to smooth.
- Place the next fabric piece(s) on top of the finished one to absorb any excess coating. Work quickly before the wax starts to solidify.
- Once excess is absorbed, peel apart and hang your finished beeswax wrap(s) to dry. Drying takes only a few minutes.
- Repeat with remaining fabric pieces until you use all the coating mixture.
Vegan Beeswax Wrap: Bee-Free Food Wrap Recipe
Makes (2 to 3) 12 x 12 inch cloths.
After nailing the beeswax recipe, creating a vegan version with carnauba wax seemed like the next logical step. Drawing inspiration from our vegan calendula salve recipe, I reduced the wax amount from my beeswax wrap recipe and increased the oil to compensate for carnauba’s brittleness. It took a bit more tweaking, but I got there! These DIY vegan food wraps are slightly oilier and leave a bit more residue than store-bought beeswax wraps, but they stick wonderfully to themselves and my bowls.
Ingredients
- 100% cotton fabric, organic preferred
- 0.75 oz. sustainably sourced pine resin
- 0.5 oz. organic carnauba wax
- 1 Tbsp. organic jojoba oil
- Large popsicle stick or compostable stirrer
- Parchment paper
- Dedicated paintbrush
Directions
- Wash and dry your cotton fabric.
- Cut the fabric into desired shapes and sizes.
- Combine pine resin, carnauba wax, and jojoba oil in a double boiler or glass measuring cup in a saucepan.
- Add water to the saucepan until it reaches below the waterline of the double boiler or measuring cup. Heat on medium-high.
- Preheat oven to 300°F (150°C).
- Let the ingredients melt and combine, about 20-25 minutes.
- Line a large cookie sheet with parchment paper, larger than your biggest fabric piece.
- Lay a piece of fabric flat on the parchment paper.
- Lightly brush the mixture onto the fabric. It might solidify quickly, which is okay, you can redistribute it later. It’s better to under-saturate initially, as adding more is easier than removing excess.
- Bake in the preheated oven for 2 minutes, or until the fabric looks wet.
- Remove from the oven and check for dry spots. Brush mixture over any dry areas, adding more coating if needed. For unevenness after adding more, return to the oven for a few minutes to smooth.
- Place the next fabric piece(s) on top of the finished one to absorb any excess coating. Work quickly before the wax starts to solidify.
- Once excess is absorbed, peel apart and hang your finished vegan wrap(s) to dry. Drying takes only a few minutes.
- Repeat with remaining fabric pieces until you use all the coating mixture.
This vegan recipe is a slightly more advanced DIY project and might need a little adjustment depending on your materials.
Troubleshooting:
- Too sticky wraps: You might need slightly less resin.
- Oily wraps: Reduce the jojoba oil a bit. Start with 2 teaspoons and adjust as needed.
- Stiff wraps: You may need less wax or the cloths might be over-saturated. Use the minimum amount for full coverage.
Pro Tips for Perfect Beeswax Wraps:
- Fabric choice matters: Thin 100% cotton fabrics cling best and absorb less coating, making application easier.
- Drying setup: Prepare a hanging space before you start. A string with clothespins works great for drying.
- Care instructions are key: For both beeswax and vegan wraps, wash in cool water with mild soap like Castille soap and air dry. Store folded in a drawer away from heat and sunlight.
- Adjust stickiness: Control the stickiness by adjusting the resin amount. The provided ratios worked best for me. More resin can leave residue, less might not stick enough.
- Residue removal tip: A helpful customer shared that if wraps leave residue on glassware initially, baking soda, soap, and warm water with a scrub sponge will do the trick!
- Refresh your wraps: Refresh wraps every 6-12 months depending on use. Reheat in the oven and brush with a light coat of melted mixture.
- Less is more: It’s easy to over-saturate the fabric. Start with a light coat and add more for even saturation. If you add too much, use another fabric piece to absorb the excess.
- Not airtight: Beeswax wraps aren’t as airtight as plastic wrap. For extra security, use a rubber band.
Want More Kitchen Eco-Inspiration?
Explore Our Natural Cleaning Solution Recipes!
You might also like: