Are you tired of reaching for plastic wrap every time you need to store leftovers or pack a snack? Like many home cooks, I loved creating delicious meals but felt guilty about the amount of single-use plastic I was using in my kitchen. The search for a sustainable alternative led me down a path of experimentation and discovery, ultimately landing me on the incredible solution: beeswax wrap food wrap.
Initially, I considered silicone lids, but they weren’t versatile enough for my various bowls and dishes. That’s when I stumbled upon beeswax wraps – and they truly changed my kitchen game. These wraps are not only perfect for covering bowls and plates, but they are also fantastic for wrapping fruits, vegetables, cheese, and even homemade bread. They’re incredibly versatile, acting as a natural, reusable lid for just about anything you’d normally use plastic wrap for. Intrigued? Let’s dive into the world of beeswax wraps and explore how you can easily make your own.
My Beeswax Wrap DIY Adventure: Finding the Perfect Recipe
Embarking on this DIY beeswax wrap journey, I envisioned a quick and simple project. Little did I know, it would turn into a fascinating three-week exploration of different methods and ingredients! What started as a simple desire to use my beeswax stash for a new purpose quickly evolved into a quest to find the absolute best homemade beeswax wrap recipe. My goal was to create wraps that were not only effective and reusable but also easy to make at home.
Through numerous trials and errors, I experimented with various combinations, starting with the simplest approach and gradually refining my technique. I tested different ingredient ratios and application methods, meticulously noting the results of each attempt. From overly stiff wraps to those that lacked stickiness, each experiment provided valuable insights, bringing me closer to the ideal beeswax wrap. I even experimented with different sizes and shapes, creating large and medium squares, circles, and even sewn snack bags to test the wraps’ versatility. Let’s explore the journey of experimentation that led to the ultimate beeswax wrap recipes.
Attempt 1: The Simplicity of Beeswax Only
My first attempt mirrored a common DIY approach: pure beeswax. I melted beeswax pastilles and coated a piece of fabric, expecting a straightforward solution. The result? A stiff, inflexible wrap that cracked when molded and lacked any adhesive quality. It simply wouldn’t stick to itself or a bowl. This initial failure highlighted the need for more than just beeswax to achieve a functional food wrap.
Attempt 2: Beeswax and Jojoba Oil – A Step Closer
Inspired by commercially available wraps, I combined beeswax with jojoba oil. This combination seemed promising for adding pliability. The resulting wraps were indeed more flexible and moldable, a clear improvement over the beeswax-only version. However, they still lacked the crucial stickiness needed to adhere to bowls or themselves. While a step in the right direction, this recipe was still missing a key element.
Attempt 3: Beeswax and Coconut Oil – A Sticky Situation
Next, I tried coconut oil with beeswax. To my surprise, this combination yielded wraps that were both pliable and sticky! Success seemed within reach. However, there was a significant drawback: the coconut oil left a noticeable, greasy film on everything the wraps touched. Removing this residue, especially from textured surfaces like mason jar lids, proved to be quite laborious. While functional, the messiness of coconut oil made this recipe less than ideal.
Attempt 4: Beeswax, Jojoba Oil, and Copal Resin – Almost There
Commercial beeswax wraps often contain pine resin for added stickiness. Initially, I experimented with copal resin as an alternative, thinking our wildharvested copal might work. This blend was a significant improvement. The wraps were pliable, sticky, and seemed to meet all my criteria. I even shared this recipe in an earlier version of my blog post.
However, feedback from friends revealed a challenge: copal resin was slow to melt, and some users, especially those using copal from different sources, struggled to melt it at all. My goal was to create a user-friendly recipe with consistent results, so I knew I needed to refine it further.
Attempt 5: The Winning Formula – Beeswax, Jojoba Oil, and Pine Resin
Finally, I conceded to using pine resin, the ingredient commonly found in commercial wraps. And it made all the difference! Pine resin melted much faster than copal and provided consistent results across testers. This combination of beeswax, jojoba oil, and pine resin created the perfect balance of pliability, stickiness, and ease of use. This is the recipe I’m thrilled to share with you – the best DIY reusable beeswax wrap recipe!
The Ultimate DIY Beeswax Wrap Recipe (with Pine Resin)
This recipe makes approximately (2 to 3) 12 x 12 inch beeswax wraps.
Ingredients:
- 100% cotton fabric, organic preferred
- 0.35 oz. sustainably sourced pine resin
- 1.25 oz. beeswax pastilles or grated beeswax
- 1 Tbsp. organic jojoba oil
- Large popsicle stick or compostable stirrer
- Parchment paper
- Dedicated paintbrush
Equipment:
- Double boiler or glass measuring cup and saucepan
- Cookie sheet
- Oven
Instructions:
- Prepare the Fabric: Wash and thoroughly dry your cotton fabric. Cut it into your desired shapes and sizes. Pinking shears can help reduce fraying.
- Melt the Ingredients: In a double boiler or glass measuring cup set over a saucepan with simmering water, combine the pine resin, beeswax, and jojoba oil.
- Melt and Meld: Heat over medium-high heat, stirring occasionally with your popsicle stick, until all ingredients are fully melted and well combined (approximately 20-25 minutes).
- Preheat Oven & Prepare Baking Sheet: Preheat your oven to 300°F (150°C). Cover a large cookie sheet with parchment paper, ensuring it’s larger than your fabric pieces.
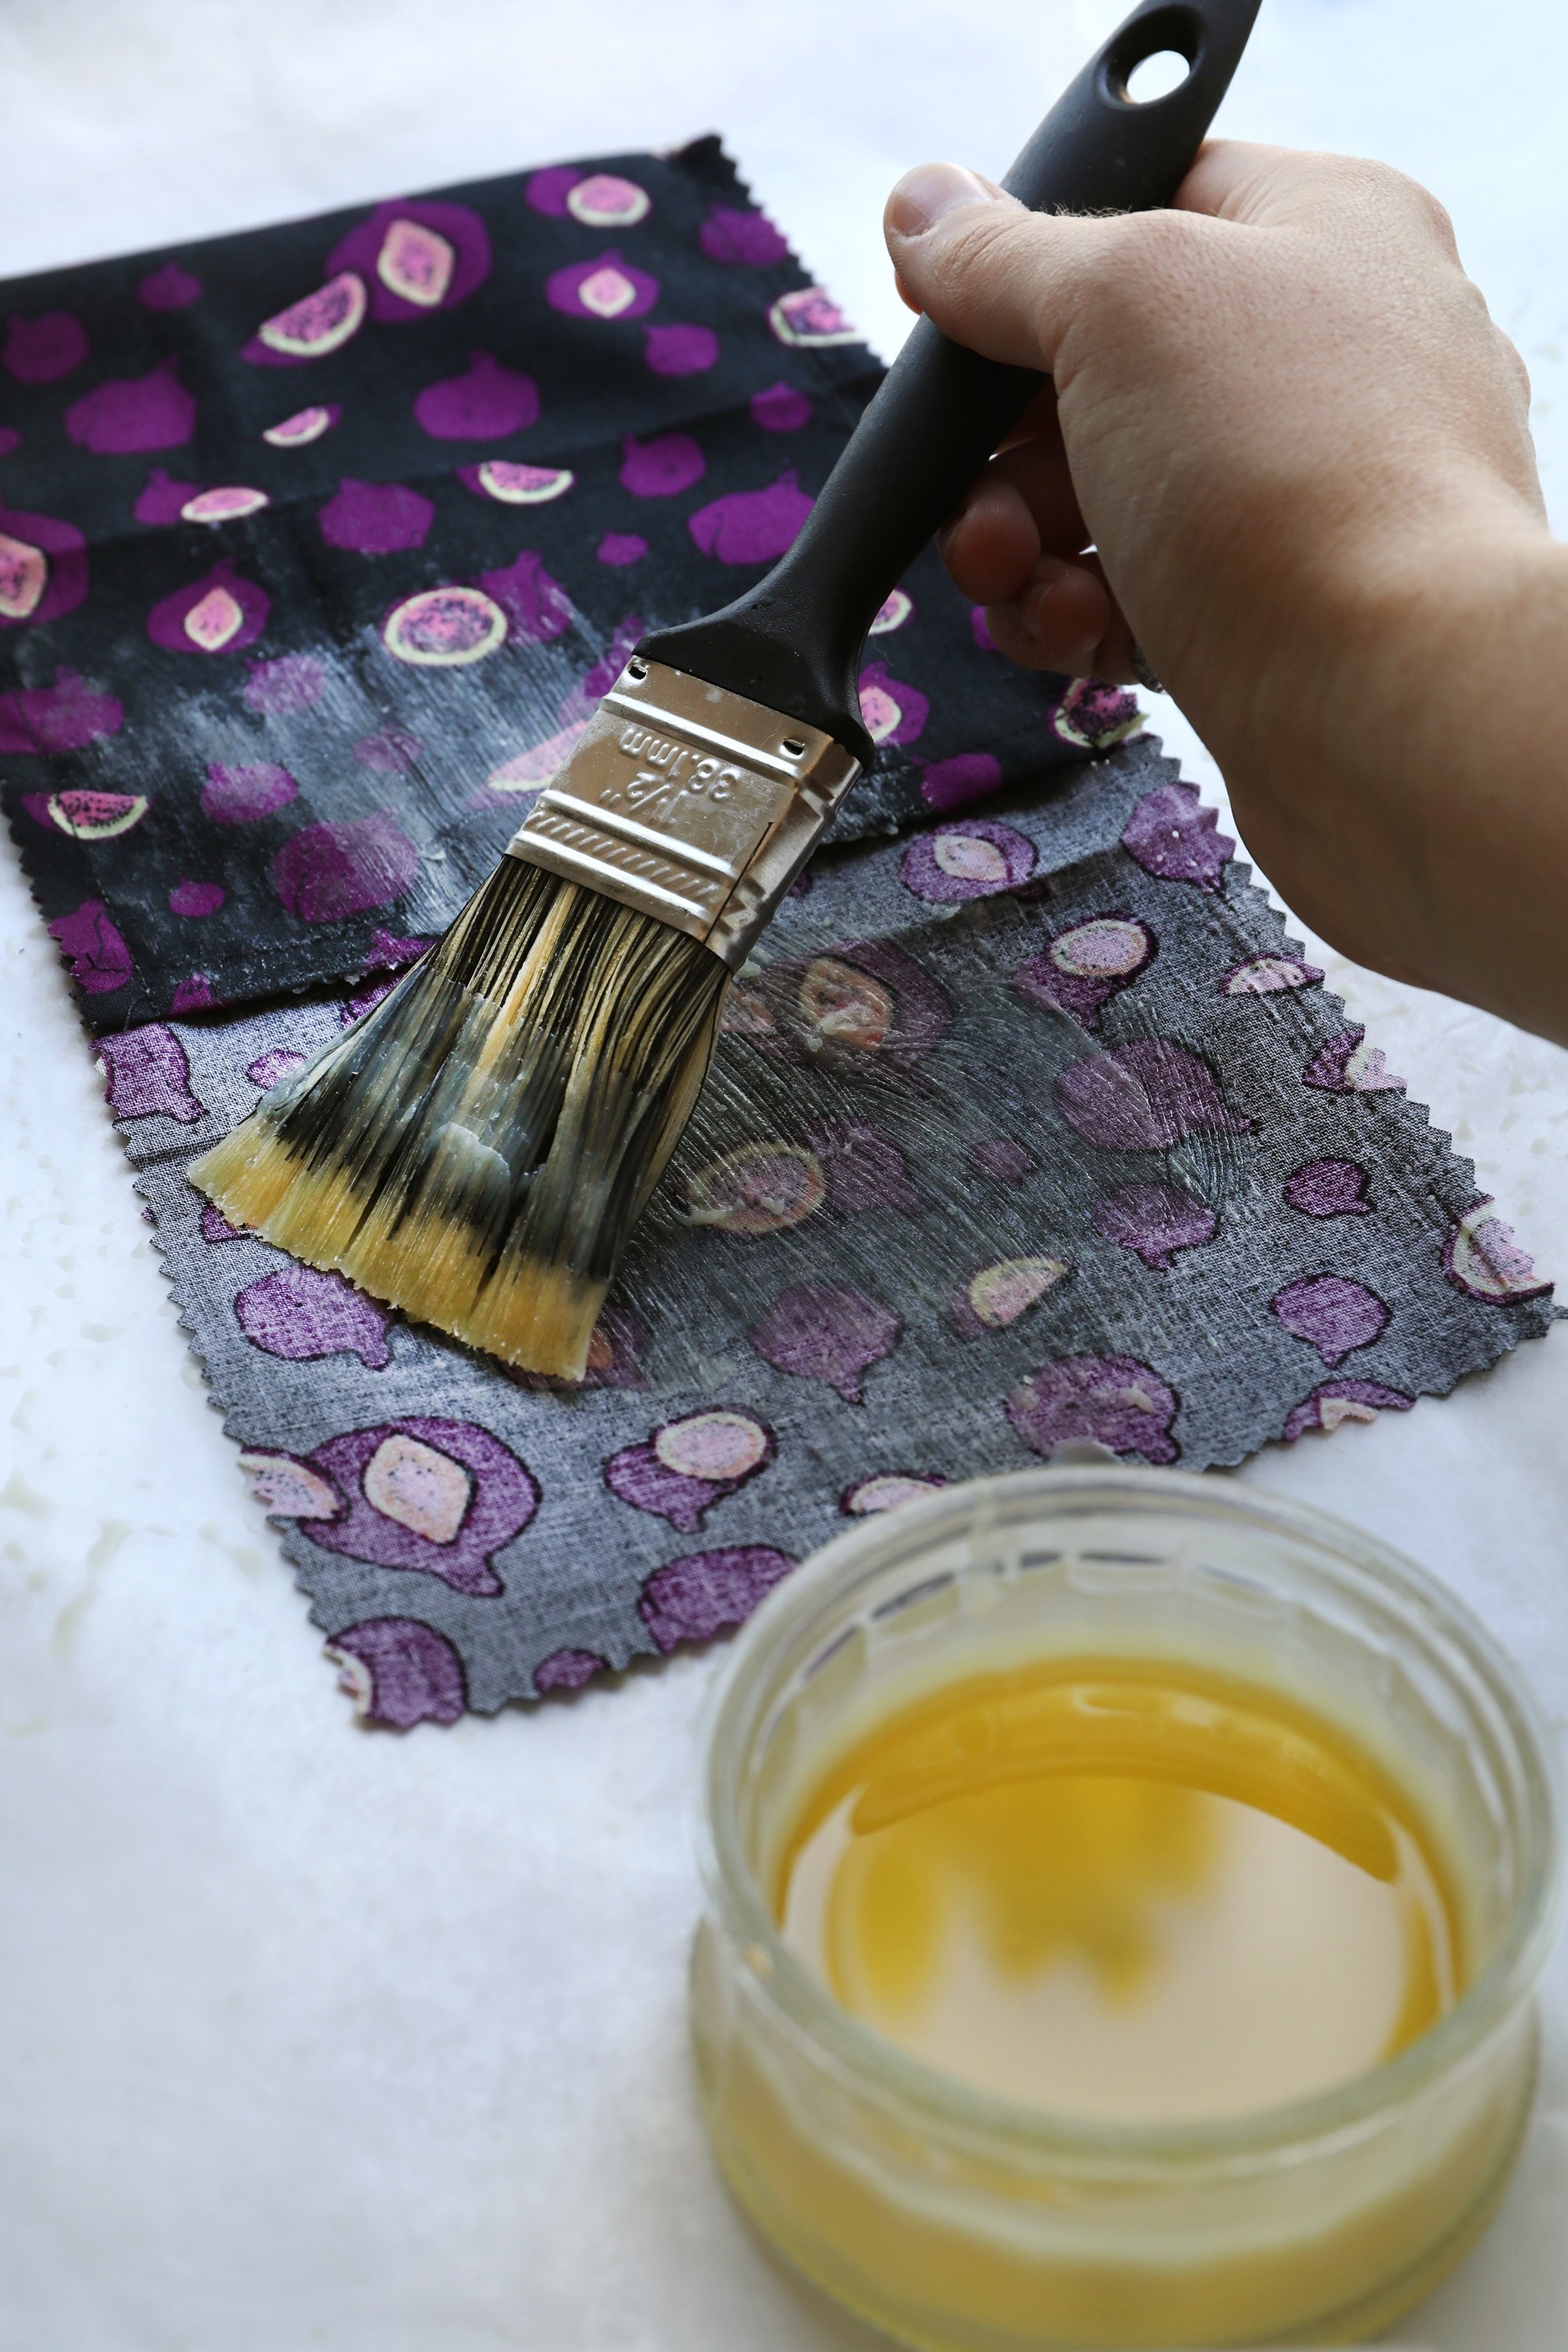
- Apply the Mixture: Lay a piece of fabric flat on the parchment paper. Using your paintbrush, lightly brush the melted mixture onto the fabric, ensuring even coverage. It’s better to start with less and add more as needed to avoid oversaturation.
- Oven Set: Place the cookie sheet in the preheated oven for about 2 minutes, or until the fabric appears wet and the coating is evenly distributed.
- Address Dry Spots & Unevenness: Remove from the oven and check for any dry spots. Brush more mixture onto these areas. If the coating is uneven, return it to the oven for a few more minutes to smooth out.
- Remove Excess & Dry: Immediately place the next piece of fabric you’re coating on top of the freshly coated wrap to absorb any excess mixture. Peel them apart and hang the completed wrap to dry for a few minutes until firm. Clothes pins and a string work well for drying.
- Repeat: Continue coating the remaining fabric pieces until you’ve used all the mixture.
Vegan Beeswax Wrap Recipe: Bee-Free Food Wrap Option
For those seeking a vegan alternative, creating bee-free food wraps is also achievable! Using carnauba wax instead of beeswax allows you to enjoy the benefits of reusable food wraps without beeswax. Drawing inspiration from our vegan calendula salve recipe, I adapted the beeswax recipe, adjusting the wax and oil ratios to account for carnauba wax’s more brittle nature.
While it took a bit more experimentation, I successfully created a vegan wrap that performs admirably. These DIY bee-free wraps have a slightly oilier feel and might leave a touch more residue compared to beeswax wraps, but they still offer excellent stickiness and work wonderfully for food storage.
Ingredients:
- 100% cotton fabric, organic preferred
- 0.75 oz. sustainably sourced pine resin
- 0.5 oz. organic carnauba wax
- 1 Tbsp. organic jojoba oil
- Large popsicle stick or compostable stirrer
- Parchment paper
- Dedicated paintbrush
Instructions:
Follow the same directions as the Beeswax Wrap Recipe, substituting carnauba wax for beeswax.
Troubleshooting Tips for Your Beeswax and Vegan Wraps:
- Too Sticky Wraps: Reduce the amount of pine resin slightly.
- Oily Wraps: Decrease the jojoba oil. Start by reducing to 2 teaspoons and adjust further if needed.
- Stiff Wraps: Reduce the wax amount. Over-saturation can also cause stiffness; use a light coat of the mixture.
Pro Tips for Beeswax Wrap Success:
- Fabric Choice: Thin, 100% cotton fabric works best for cling and absorbs less coating mixture.
- Drying Setup: Prepare a hanging place for drying your wraps before you begin.
- Care Instructions: Wash wraps in cool water with mild soap, like Castille soap, and air dry. Store folded in a drawer away from heat and sunlight.
- Adjust Stickiness: Modify resin amount for desired stickiness. The provided ratios worked best for me.
- Residue Removal: If wraps leave a residue on glassware initially, use baking soda, soap, and warm water with a scrubbing sponge.
- Refreshing Wraps: Refresh wraps every 6-12 months by reheating them in the oven and brushing on a light coat of the melted mixture.
- Light Coating is Key: Apply a light coat of mixture to prevent oversaturation. If you apply too much, use another piece of fabric to absorb the excess.
- Enhance Cling: Beeswax wraps are not airtight like plastic wrap. Use a rubber band for a tighter seal if needed.
Embrace Eco-Friendly Food Storage with Beeswax Wrap Food Wrap
Beeswax wraps are a fantastic, sustainable alternative to plastic wrap, offering a reusable, natural, and beautiful way to store your food. Whether you choose to make the classic beeswax version or the vegan carnauba wax wraps, you’re taking a significant step towards reducing plastic waste in your kitchen. Experiment with these recipes, find your perfect wrap, and enjoy the satisfaction of creating your own eco-friendly kitchen essentials.
Ready to further enhance your eco-friendly kitchen?
Explore Our Natural Cleaning Solution Recipes!
You might also enjoy: