Dyeing fabric opens up a world of possibilities, transforming ordinary materials into vibrant creations. While commercial dyes are widely used, food dye offers a surprisingly effective alternative, particularly for protein-based fibers. Let’s explore the ins and outs of using food dye for your clothing projects.
Understanding Food Dye and Fabric
In the past, natural dyes derived from plants, insects, and minerals were the primary means of coloring fabrics. Today, while not a traditional method, food dye can be a valuable tool for dyeing protein fibers such as wool and silk.
The Science of Dyeing
Dyeing involves binding color to fabric fibers. Most dyes require a mordant – a substance that helps the dye adhere. Common mordants include alum, iron, and copper. Food dyes, while not medieval dyes, can create a beautiful range of colors on wool and silk.
Food Dye for Clothes: Pros and Cons
Like any dyeing method, using food dye has advantages and limitations.
Advantages:
- Effective on Protein Fibers: Food dye excels on wool and silk, even feathers.
- Cost-Effective: It’s cheaper compared to commercial dyes.
- Accessibility: Readily available in most supermarkets.
- Color Mixing: Easy to blend for a wide spectrum of colors.
- Safe: Food-safe and odorless, allowing the use of regular cooking equipment.
- Easy Cleanup: Splashes wash out of clothing easily (cotton, linen, synthetics).
- Lightfastness: Comparable to commercial dyes, though both fade in sunlight over time.
Disadvantages:
- Limited to Protein Fibers: Ineffective on linen, cotton, or synthetics, only producing pale tinges.
- Mixed Fabrics: Results in a mottled effect as only wool or silk elements will dye.
- Temperature Sensitive: Requires stovetop dyeing due to critical temperature control, limiting batch sizes to pot capacity.
- Doesn’t Cover Imperfections: Won’t conceal stains or fade marks.
Essential Equipment for Food Dyeing
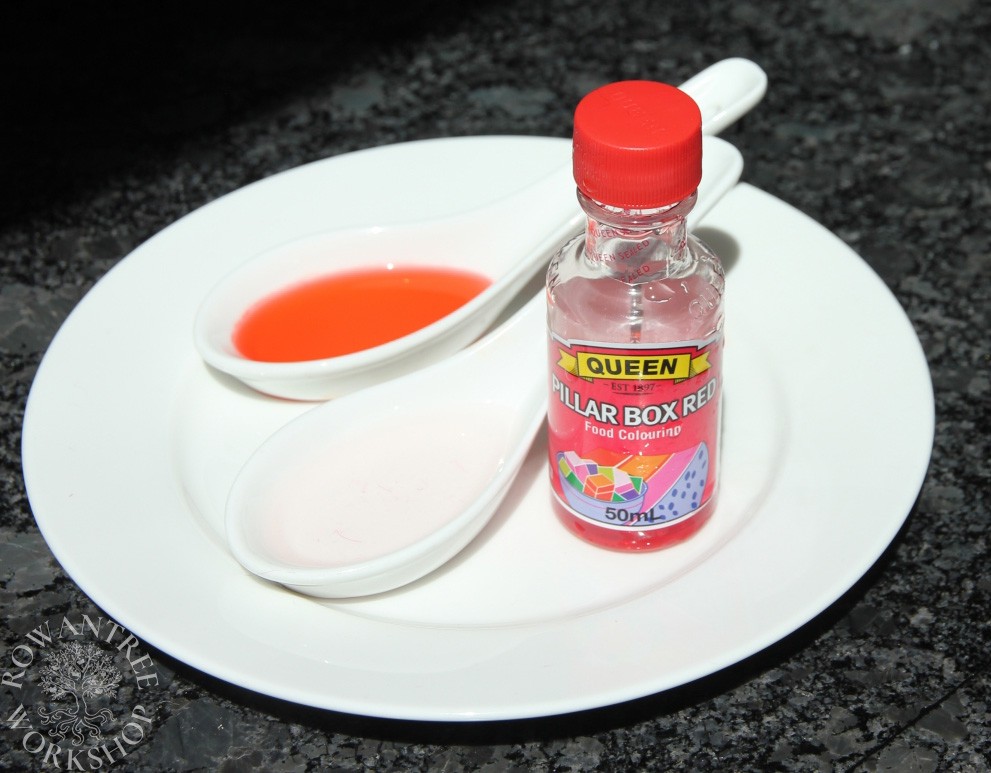
- Liquid Food Dye: Queen brand (Australia) is recommended. Avoid paste, oil, gel, or powder forms due to dissolving issues.
- Heat Source: Stovetop for precise temperature control.
- Pot: Large enough for fabric movement (e.g., a 15L stockpot for 1.5m of medium-weight wool), ideally stainless steel.
- Tub: For pre-mordanting fabric.
- Thermometer: Immersion or instant-read type.
- Rubber Gloves: Protects hands.
- Large Wooden Spoon: For stirring.
- Tongs: Wood or metal, for removing fabric.
- Large Jug: For multiple fabric lengths.
- Bucket/Bowl: For transferring wet fabric.
- White Vinegar: As a mordant.
Planning Your Dyeing Project
Color Selection
Consider the fabric’s initial color and composition as the dye will add, not replace, the existing color. Mix dyes for a broader range, blending in the dyebath for best results. Remember that Queens offers a color mixing chart for buttercream, which can offer inspiration.
Test Run
Before dyeing your main fabric, test a 20cm square, following all steps, including washing and pre-mordanting. A shorter soak in vinegar suffices for testing. Use 20 drops (1ml) of dye in 500ml of water with a teaspoon of vinegar.
Fabric Lengths
Pre-wash fabric to remove finishes. Cut larger lengths to fit your pot, ensuring easy movement. For instance, a 15-liter stockpot can accommodate a 120cm skirt drop of 150cm wide medium-weight wool.
Step-by-Step Dyeing Process
Pre-Mordant (Day Before Dyeing)
- Cut pre-washed fabric to appropriate lengths.
- Fill a bucket or tub with enough cold water to cover the fabric.
- Add ½ cup of vinegar for a bucket or 1-2 cups for a large tub and mix thoroughly.
- Submerge the fabric, ensuring even saturation. Soak overnight.
Dye Pot (Dyeing Day)
- Gather equipment: heat source, pot, thermometer, gloves, stirrer, dye, vinegar, tongs.
- Fill the dyepot with hot water (leaving space for fabric) and turn on the heat.
- Add a “glug” (50ml) of vinegar and the dye.
- Remove fabric from the mordant bath and drain.
- At 60°C, add one piece of fabric gently, avoiding air bubbles.
- Maintain gentle movement, expelling air, without compressing the fabric.
- Raise the temperature to 80-82°C until the water clears.
- Remove from heat.
- Take out the fabric and rinse in cool water. Minimal dye loss indicates success.
Post-Dyeing
- Wash the fabric as you intend to wash the final garment to remove any residual dye.
- For silk, re-wash in lukewarm water with silk wash or mild shampoo and rinse well, adding vinegar for sheen.
- Dry the fabric. Avoid tumble dryers for wool to prevent shrinkage.
Dyeing Extra Lengths
To dye more fabric:
- Remove 1-2 liters of water from the dyebath and add cold water to drop the temperature below 60°C.
- Add more dye and vinegar, stirring well.
- Add the next fabric length.
- Raise the temperature again, stirring until the water clears.
- Remove, rinse, and repeat.
Overdyeing
To adjust color:
- Over-dye using the same process.
- Remember colors are additive.
- Pre-mordant washed fabric again.
- Match dye volume and temperature for multiple lengths.
Dyeing Other Items: Hat Bodies and Feathers
The same principles apply to other items.
Hat Bodies
Use the same method for wool felt hat bodies. Test colors on a sliver first. Block the hat immediately after dyeing, preparing stiffener beforehand if needed.
- Soak the hat blank overnight in water with vinegar.
- Fill the pot with water at 40-50°C, add dye (50ml per large blank) and vinegar, then add the hat blank.
- Move and turn the hat blank occasionally.
- Stop the process if the original dye leaks, typically around 70°C.
Feathers
Dyeing feathers requires a flat pan.
- Wash feathers in warm water with liquid soap or shampoo, rinse well, and soak overnight in water with vinegar.
- Add water and dye (2ml may suffice per feather) and move gently until dyed, monitoring the temperature.
- Remove and rinse well.
- Hang with vanes down to dry, using a breeze or fan. Curl while drying if desired.
Conclusion
Food dye offers a simple, cost-effective method for dyeing protein-based fabrics and other items. By understanding its advantages, limitations, and the dyeing process, you can achieve vibrant and unique results in your creative projects.