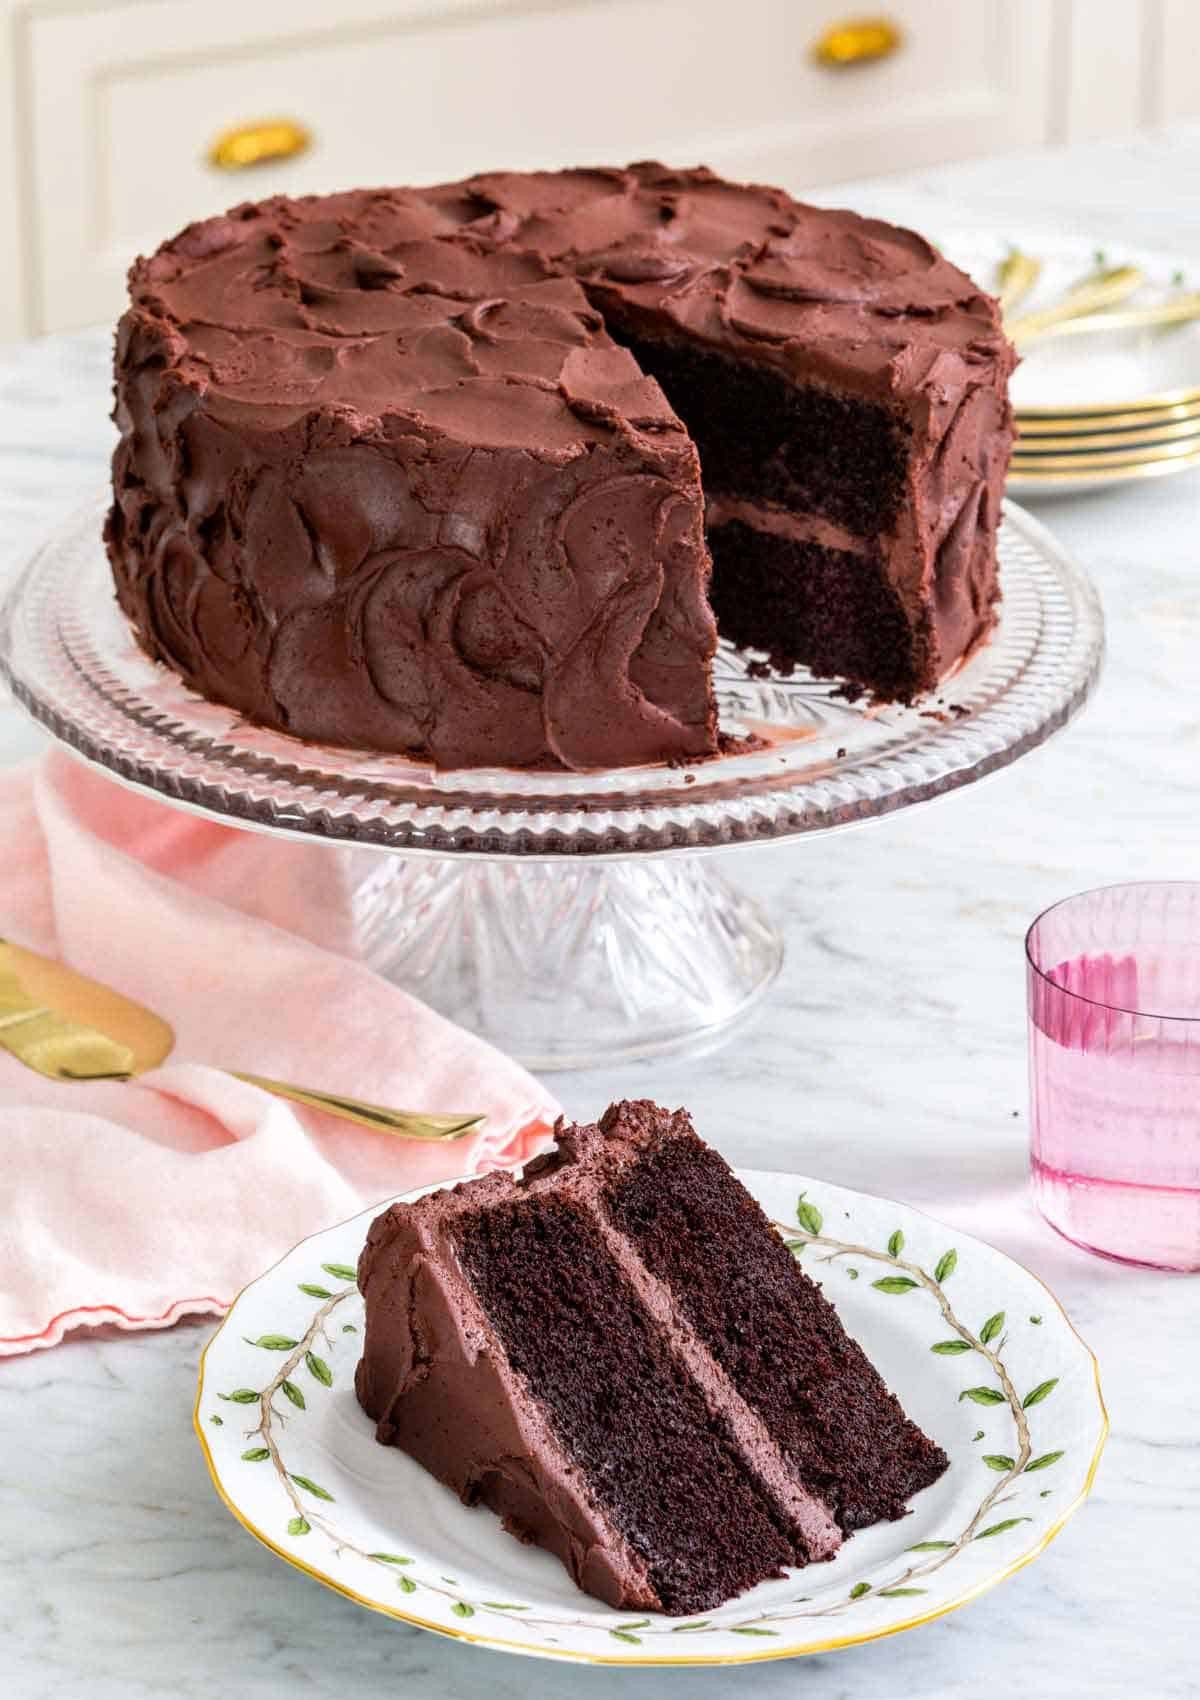
If you’re a true chocolate aficionado, prepare to be captivated by the intensely rich and utterly irresistible Devil’s Food Cake. This isn’t just any chocolate cake; it’s a decadent experience, boasting a supremely moist and fudgy texture that melts in your mouth with each bite. Infused with a deep, dark chocolate flavor and lavishly coated in a velvety chocolate buttercream frosting, this cake is the ultimate centerpiece for any celebration, big or small.
For those who adore chocolate cake but crave something with a more profound chocolate punch, deeper moisture, and a richer profile, look no further than the devil’s food cake. Its extraordinary softness ensures every forkful is a blissful experience. Despite its dense character, the cake maintains a tender crumb, making it truly irresistible.
This classic cake recipe is a guaranteed crowd-pleaser. Whenever I present a devil’s food cake at a gathering, it vanishes in record time, leaving everyone craving more. With just a handful of straightforward ingredients, you can effortlessly create this divine chocolate indulgence in your own kitchen. And if your chocolate desires remain unsatiated, explore other delectable chocolate desserts like a rich chocolate bundt cake, an airy chocolate soufflé, or a silky smooth chocolate mousse for your next baking adventure.
Elevating Chocolate Cake: What Makes Devil’s Food Cake Unique?
Let’s delve into the key components that set devil’s food cake apart and make it so exceptionally delicious:
Butter: Using room temperature butter is crucial for achieving a smooth and creamy batter base. The butter should be pliable, allowing your finger to leave a slight indent when pressed. However, be mindful not to let it sit out too long, especially in warmer environments, as it can become overly soft and greasy. Always opt for unsalted butter to control the salt level in your cake, as salted butter brands vary in salt content.
Leavening Agents: Fresh baking soda and baking powder are essential for the perfect rise and texture. Expired leavening agents can lead to a flat and dense cake, so check their dates!
Dutch-Process Cocoa Powder: This is the secret ingredient to the devil’s food cake’s signature dark color and intense chocolate flavor. Dutch-process cocoa is treated with an alkali, which reduces its acidity, resulting in a smoother, richer chocolate taste and a deeper hue.
Oil: The combination of butter and oil is what contributes to the cake’s exceptional moistness. Oil helps to keep the cake tender and prevents it from drying out.
Brown Sugar: Adding brown sugar not only enhances the flavor profile with notes of molasses but also significantly boosts the cake’s moisture content, ensuring a soft and tender crumb.
Coffee: Don’t worry, your cake won’t taste like coffee! Hot coffee is used to intensify the chocolate flavor, bringing out the richness of the cocoa.
Sour Cream: Always choose full-fat sour cream for the best results. Sour cream adds moisture without thinning the batter, contributing to a moist and tender texture. It also reacts with the baking soda, aiding in leavening.
Frosting: While store-bought frosting is an option, homemade chocolate buttercream frosting truly elevates this cake. It’s surprisingly easy to make ahead of time and provides the perfect sweet, chocolatey complement to the devil’s food cake.
Step-by-Step Guide to Baking Devil’s Food Cake
-
Prepare Dry Ingredients: In a large mixing bowl, sift together all-purpose flour, baking soda, salt, and baking powder. Sifting ensures there are no lumps and the ingredients are well combined.
-
Combine Cocoa and Oil: In a separate medium bowl, whisk together the Dutch-processed cocoa powder and vegetable oil until smooth. This creates a paste that will easily incorporate into the batter.
-
Cream Butter and Sugars: In the bowl of a stand mixer fitted with the paddle attachment (or using a hand mixer), cream the room temperature butter on medium speed until smooth and creamy. Gradually add both granulated sugar and packed light brown sugar to the butter. Continue to beat on medium speed until the mixture becomes very light and fluffy, this may take about 5 minutes. Scraping down the bowl occasionally ensures everything is evenly mixed.
-
Incorporate Eggs and Vanilla: With the mixer running on medium speed, add the room temperature eggs one at a time, beating well after each addition to fully incorporate each egg. Remember to scrape down the bowl as needed to ensure all ingredients are uniformly mixed. Once all eggs are incorporated, beat in the vanilla extract.
-
Alternate Wet and Dry Ingredients: With the mixer on low speed, begin adding the dry flour mixture in thirds, alternating with the milk and sour cream. Start with a third of the flour mixture, followed by half of the milk and half of the sour cream. Continue alternating until all ingredients are just combined. Be careful not to overmix at this stage. Scrape down the bowl one last time to ensure a homogenous batter.
-
Add Hot Coffee: Gradually pour in the hot coffee while the mixer is on low speed, and carefully whisk until the batter is well combined and smooth. The batter will be quite liquidy at this stage, which is normal.
-
Bake the Cake: Pour the prepared batter evenly into the buttered and floured cake pans. Bake in the preheated oven for 40 to 45 minutes, or until a toothpick inserted into the center comes out with just a few moist crumbs attached, and the edges of the cake start to pull away slightly from the sides of the pan.
-
Cool and Frost: Allow the cakes to cool in the pans for about 15-20 minutes before inverting them onto a wire rack to cool completely. Once the cakes are completely cool, level the tops if necessary using a serrated knife for flat layers. If desired, slice each cake layer horizontally to create thinner layers. Place one cake layer on a cake stand or serving plate, and generously spread about ¾ cup of chocolate buttercream frosting over the top. Repeat with the remaining layers. Finally, frost the entire cake with the remaining buttercream, creating a smooth and decadent finish.
Expert Tips for Baking the Perfect Devil’s Food Cake
-
Achieve Flat Cake Layers: If your cake layers tend to dome in the center, use a serrated knife to carefully trim the domes for even stacking. Alternatively, cake strips are a fantastic tool to ensure evenly baked, flat layers. These strips insulate the outside of the pan, allowing the cake to bake at a more consistent rate and preventing doming. You can easily DIY cake strips if you don’t want to purchase them.
-
Avoid Overmixing: Overmixing the batter can develop the gluten in the flour, resulting in a tough, dry, and less tender devil’s food cake. Mix until just combined for the best texture.
-
Measure Flour Accurately: For the most precise baking, use a kitchen scale to measure your flour. If you’re using measuring cups, ensure you fluff the flour in the container first, then lightly spoon it into the measuring cup and level it off with a knife. This prevents packing the flour and using too much.
-
Room Temperature Eggs: Using room temperature eggs is crucial for smooth batter incorporation. Room temperature eggs emulsify more easily into the batter, creating a smoother and more stable emulsion. If you’ve forgotten to take your eggs out, you can quickly warm them by placing them in a bowl of warm tap water for about 5 minutes.
-
Sift Cocoa Powder: Don’t skip sifting the cocoa powder, especially Dutch-processed cocoa, as it can be prone to lumps. Sifting ensures a smooth cocoa powder that will blend seamlessly with the oil and other ingredients.
-
Prevent Overbaking: Overbaking is a common mistake that can lead to a dry cake. Use the toothpick test to check for doneness, and remove the cake from the oven as soon as the toothpick comes out with a few moist crumbs.
Frequently Asked Questions About Devil’s Food Cake
What is the difference between Devil’s Food Cake and Chocolate Cake?
While both are chocolate flavored, devil’s food cake distinguishes itself with a more intense chocolate flavor, a darker color, and a slightly fluffier texture compared to a standard chocolate cake. The higher amount of baking soda in devil’s food cake raises the batter’s pH level, contributing to its deep color and enhanced fluffiness.
Devil’s Food Cake vs. Red Velvet Cake: What’s the Distinction?
Devil’s food cake typically utilizes Dutch-process cocoa for a richer, deeper chocolate flavor profile, while red velvet cake often uses natural cocoa to accentuate its reddish hue. Devil’s food cake also incorporates coffee and sour cream to intensify its chocolate notes, whereas red velvet relies on buttermilk and vinegar for its signature tangy flavor.
Why is it Called Devil’s Food Cake?
The name “Devil’s Food Cake” emerged in the late 19th century to describe its sinfully delicious nature – dark, rich, and intensely chocolatey. It’s also considered the opposite of the light and airy angel food cake, hence the “devilish” moniker as its rich, chocolate counterpart.
How Should I Store Devil’s Food Cake?
An assembled and frosted devil’s food cake can be stored at room temperature, covered, for up to 5 days. Alternatively, you can refrigerate the cake and allow it to come to room temperature before serving for the best texture.
Can Devil’s Food Cake Be Frozen?
Yes, devil’s food cake freezes beautifully. For best results, freeze unfrosted cake layers. Wrap each layer tightly in plastic wrap, then place them in a freezer-safe bag for up to 3 months. Thaw the frozen cake layers at room temperature for a few hours before frosting. For leftover slices of frosted cake, flash freeze them individually before wrapping to prevent the frosting from sticking to the plastic wrap.
Can I Use Regular Cocoa Powder Instead of Dutch-Processed?
While Dutch-processed cocoa powder is highly recommended for its signature flavor and color in devil’s food cake, you can substitute it with regular, non-alkalized cocoa powder. The cake will still be delicious, though the color may be slightly lighter, and it might rise a bit more. Keep a close eye on the cake while baking if you use regular cocoa powder.
More Delicious Desserts to Explore
If you loved this Devil’s Food Cake recipe, you might also enjoy these other tempting dessert recipes:
[Link to Chocolate Bundt Cake Recipe]
[Link to Chocolate Soufflé Recipe]
[Link to Chocolate Mousse Recipe]
If you’ve baked this Devil’s Food Cake, please rate the recipe and share your experience in the comments below! Your feedback is valuable and helps other bakers.
Devil’s Food Cake Recipe
Rich, soft, and intensely moist, this Devil’s Food Cake is a truly decadent dessert. Perfect for any special occasion, this fudgy chocolate cake is guaranteed to melt in your mouth.
Save Recipe Saved! Print Recipe
Course: Dessert
Cuisine: American
Prep Time: 20 minutes
Cook Time: 40 minutes
Total Time: 1 hour
Servings: 12 servings
Calories: 611kcal
Author: John Kanell
Equipment
- Electric or stand mixer
- Mixing Bowls
- 9-inch round cake pans
- Parchment paper
Ingredients
- 2 cups all-purpose flour (240g)
- 2 teaspoons baking soda
- 1 teaspoon salt
- ½ teaspoon baking powder
- ½ cup unsalted butter, room temperature (113g)
- 1 cup Dutch-processed cocoa powder, sifted (100g)
- ½ cup vegetable oil (120ml)
- 1½ cups granulated sugar (300g)
- ½ cup packed light brown sugar (110g)
- 3 large eggs, room temperature
- 1 tablespoon vanilla extract
- ½ cup sour cream, room temperature (120g)
- 1 cup milk, room temperature (120ml)
- 1 cup hot coffee (240ml)
- Chocolate Buttercream Frosting
Instructions
- Preheat oven to 350°F (175°C). Butter and flour two 9-inch round cake pans, or spray with baking spray, and line the bottoms with parchment paper.
- In a large bowl, sift together the flour, baking soda, salt, and baking powder.
- In a large mixing bowl or stand mixer bowl with the paddle attachment, beat the butter on medium speed until creamy. In a medium bowl, whisk together cocoa powder and oil. Add to the butter along with granulated and brown sugars. Beat on medium speed until very light and fluffy, about 5 minutes, scraping down the bowl as needed.
- With the mixer running, add eggs one at a time, beating well after each. Scrape down the bowl as needed. Beat in vanilla.
- On low speed, add one-third of the flour mixture, then half the milk and half the sour cream. Alternate until combined, scraping down the bowl. Gradually add hot coffee and whisk until well combined. Pour batter into prepared pans.
- Bake for 40-45 minutes, until cakes pull away from sides and center springs back when pressed. Cool in pans completely. Invert cakes and remove parchment. (Cakes are delicate, handle gently.)
For Assembly:
- (Optional) Cut each cake layer in half horizontally. Place one layer on a stand, spread ¾ cup frosting over top. Repeat with remaining layers. Frost entire cake with remaining frosting.
- Assembled cake can be stored covered at room temperature up to 5 days.
Recipe Notes
- Trim domed cake tops with a serrated knife for stacking or use cake strips for even layers.
- Avoid overmixing to prevent a tough cake.
- Use a scale for accurate flour measurement, or spoon and level flour into measuring cups.
- Use room temperature eggs for better batter mixing. Warm cold eggs in warm water for 5 minutes if needed.
- Sift cocoa powder to prevent lumps.
- Don’t overbake; use a toothpick to check for moist crumbs, not a clean toothpick.
Nutrition
Calories: 611kcal | Carbohydrates: 85g | Protein: 7g | Fat: 30g | Saturated Fat: 11g | Polyunsaturated Fat: 7g | Monounsaturated Fat: 10g | Trans Fat: 1g | Cholesterol: 75mg | Sodium: 515mg | Potassium: 310mg | Fiber: 4g | Sugar: 63g | Vitamin A: 397IU | Vitamin C: 1mg | Calcium: 78mg | Iron: 3mg
*Nutrition Disclaimer
Have you Tried this Recipe? Tag me Today! Mention @preppykitchen and tag #preppykitchen!