In today’s visually-driven world, sharing Pictures Of Food has become a universal language. Whether you’re a food blogger, a restaurant owner, or simply someone who loves to capture their culinary creations, mastering iPhone food photography is a valuable skill. Thanks to advancements in smartphone technology, taking professional-looking pictures of food is now within everyone’s reach.
The beauty of iPhone food photography lies in its accessibility. You carry a powerful camera in your pocket every day, ready to capture delicious moments as they unfold. Like any form of photography, creating stunning pictures of food with your iPhone hinges on understanding key principles: light, composition, and editing. These food photography tips are universally applicable, regardless of your smartphone brand, although this guide is tailored for iPhone users.
We’ll explore how to harness the capabilities of your iPhone camera and delve into Lightroom Mobile, a powerful editing app, to transform your pictures of food from snapshots to mouthwatering masterpieces. If you’re new to editing, consider exploring dedicated resources to master Lightroom for food photography, which will significantly enhance your ability to create impactful pictures of food. Lightroom Mobile streamlines your workflow, from capturing the initial image to applying edits and even utilizing food photography presets to achieve a consistent and professional look in your pictures of food.
Enhance your food photography setup with specialized backdrops and props. High-quality backdrops and carefully chosen tableware can elevate the visual appeal of your pictures of food, providing a polished and professional foundation for your culinary subjects.
Mastering iPhone Food Photography: Lighting, Styling, and Editing Techniques
Let’s explore the practical steps to taking incredible pictures of food with your iPhone. The following video tutorial and guide will walk you through camera settings, working with both natural and artificial light, and essential editing techniques to achieve your desired aesthetic in your pictures of food.
[Watch how to take amazing pictures of food with your iPhone, covering camera settings, lighting (natural and artificial), and editing techniques.] (Replace with actual video link if available)
For continuous learning and inspiration, subscribe to a dedicated YouTube channel focused on food photography tips and tutorials. Staying updated with the latest techniques and trends in food photography will help you consistently improve the quality of your pictures of food.
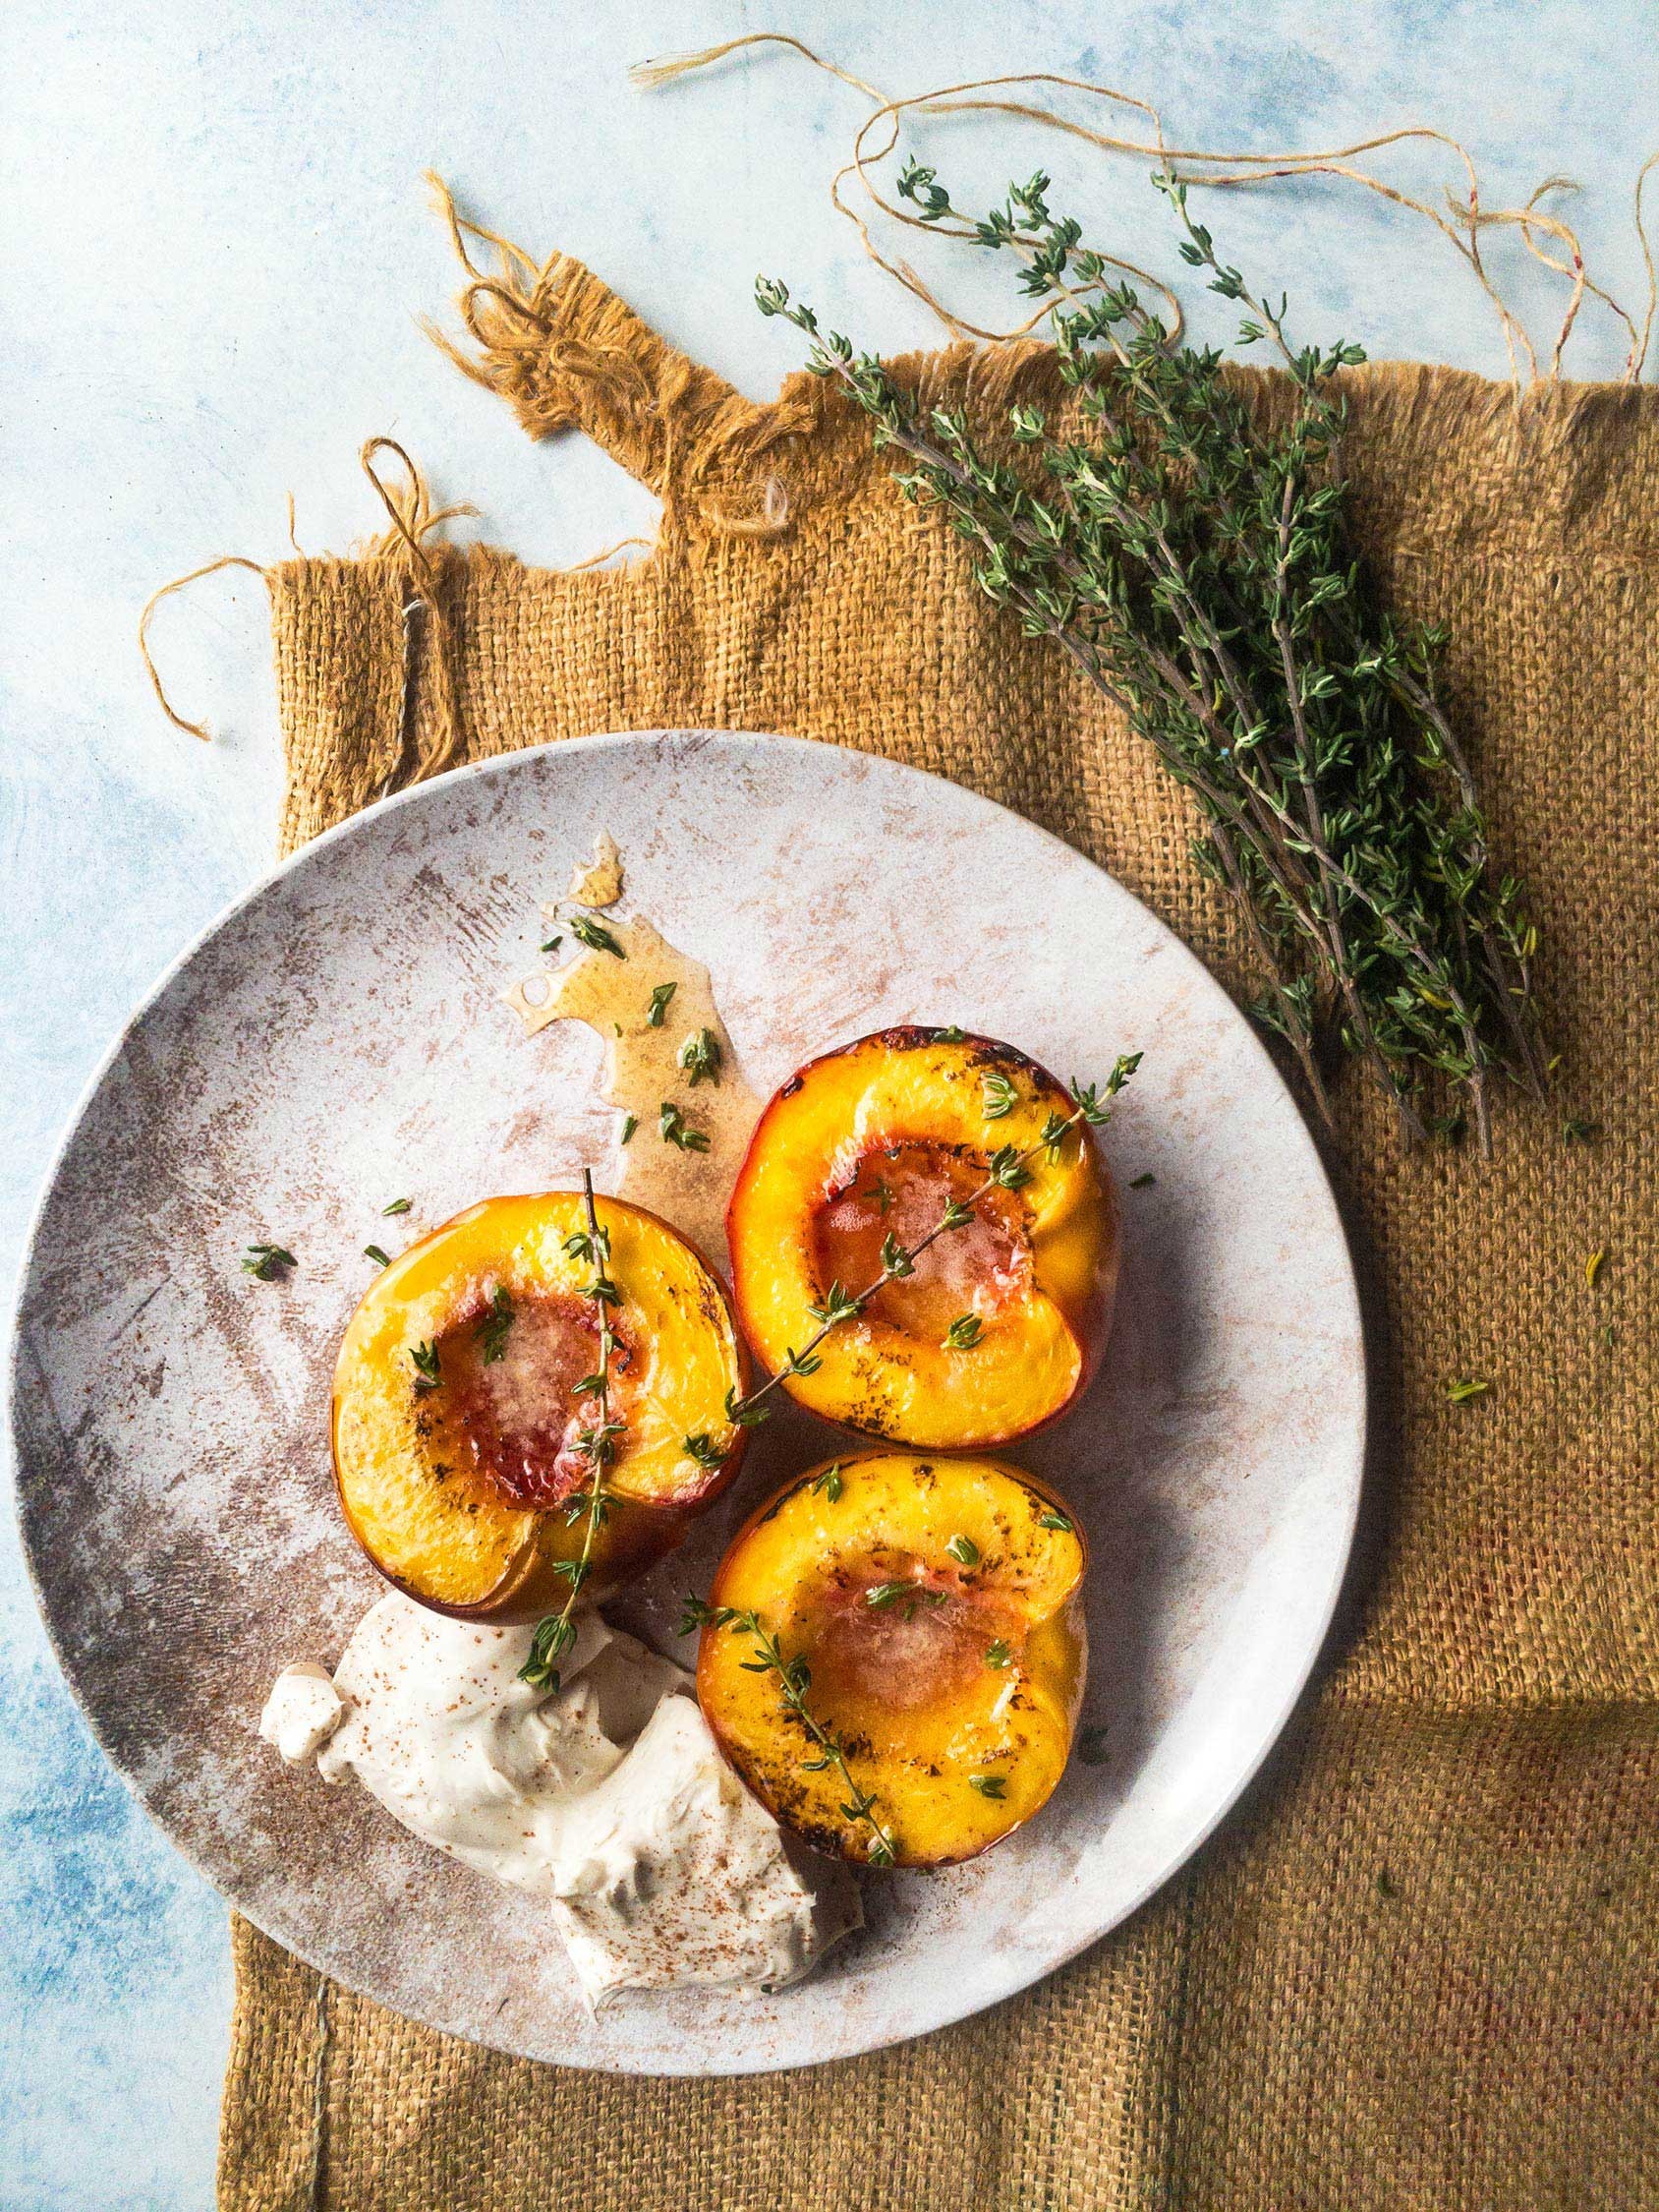
While the core principles of food photography remain consistent across cameras, the iPhone’s fixed wide-angle lens presents unique opportunities and challenges. Unlike traditional cameras with versatile lenses (like 50mm or 100mm lenses often favored for food photography), the iPhone’s 28mm equivalent lens excels at capturing overhead or flat lay pictures of food. This perspective is ideal for showcasing the entire dish and its arrangement, making it perfect for modern food photography trends.
Unlock Professional Camera Controls on Your iPhone for Better Food Pictures
To truly elevate your pictures of food, take control of your iPhone’s camera settings. While the native camera app offers convenience, apps like Lightroom Mobile provide manual controls that are essential for achieving professional results.
Lightroom Mobile stands out as a top choice for iPhone food photography. Its seamless integration with desktop Lightroom, the industry-standard editing software, makes it a powerful tool for both capture and post-processing of pictures of food.
Alt text: Screenshot of Lightroom Mobile app interface showing professional camera settings adjustments on an iPhone for taking detailed pictures of food.
Within the Lightroom Mobile app, accessing the “Professional” mode unlocks a suite of manual controls. Simply tap the camera icon and select “Professional” next to the shutter button to gain command over ISO, shutter speed, white balance, and manual focus. These controls are crucial for fine-tuning exposure and achieving the desired look in your pictures of food. Furthermore, Lightroom Mobile offers compositional overlays to aid in framing your shots perfectly.
These manual settings empower you to create pictures of food with precision and intention. Let’s explore some key controls within Lightroom Mobile:
1. File Format: Maximize Image Quality for Editing Your Food Pictures
Lightroom Mobile allows you to choose between DNG and JPEG file formats. Opting for DNG, Adobe’s version of RAW, is highly recommended for capturing pictures of food. RAW files retain significantly more image data than JPEGs, providing greater flexibility during editing. Given the iPhone’s 12MP sensor, shooting in DNG ensures the highest possible image quality, especially crucial for detailed pictures of food that may require extensive editing.
2. White Balance: Accurately Capture Colors in Your Food Pictures
Setting the correct white balance is vital for accurate color representation in your pictures of food. Lightroom Mobile offers presets for various lighting conditions (daylight, tungsten, fluorescent, cloudy) and a custom setting for fine-tuning. Choosing the appropriate white balance ensures that your food appears appetizing and true-to-life. While white balance can be adjusted during editing, setting it correctly in-camera saves time and maintains optimal image quality for your pictures of food.
3. ISO: Control Image Noise in Your Food Pictures
ISO controls your camera sensor’s sensitivity to light. Lower ISO values (e.g., below 100) are ideal for minimizing noise and maximizing image quality in your pictures of food. However, lower ISO settings require more light or longer shutter speeds. Lightroom Mobile’s manual ISO control is invaluable for iPhone food photography, as the iPhone’s small sensor is prone to noise at higher ISO levels. Keeping the ISO low ensures cleaner and more professional-looking pictures of food.
4. Shutter Speed: Prevent Blur in Your Food Pictures
Manual shutter speed control is essential, especially when using low ISO settings. Lower ISO necessitates longer shutter speeds, increasing the risk of motion blur, particularly in handheld pictures of food. Using a tripod, as demonstrated in many food photography tutorials, is highly recommended when shooting with longer shutter speeds to ensure sharp and blur-free pictures of food.
5. Manual Focus: Achieve Pin-Sharp Focus in Your Food Pictures
Manual focus is arguably one of the most critical features for professional-looking pictures of food. Lightroom Mobile’s manual focus slider allows you to precisely control the focus point. As you adjust the slider, in-focus areas are highlighted in green, ensuring critical sharpness in your pictures of food, especially when emphasizing specific textures or details. This feature is invaluable for achieving shallow depth of field and drawing attention to key elements in your culinary compositions.
Additional Features to Enhance Your iPhone Food Pictures
Beyond manual camera settings, Lightroom Mobile offers additional features that streamline the process of creating compelling pictures of food:
6. Grids: Improve Composition in Your Food Pictures
Lightroom Mobile provides various grid overlays to aid composition. These grids are incredibly useful for visually balancing your pictures of food and aligning elements within the frame. They are particularly helpful for ensuring straight lines and precise placement of backdrops and props, contributing to a polished and professional aesthetic in your pictures of food.
7. Level: Ensure Straight Horizons in Your Flat Lay Food Pictures
Maintaining a level camera is crucial, especially for flat lay pictures of food. Lightroom Mobile’s level overlay helps ensure that your iPhone is perfectly horizontal, preventing unwanted perspective distortion. This feature is essential for creating balanced and professional-looking flat lay pictures of food, avoiding the appearance of dishes or props sliding off the edge. A level image also simplifies post-processing if you intend to rotate the image during editing.
8. Highlights Clipping: Avoid Overexposure in Your Food Pictures
The highlights clipping mask is a valuable tool for preventing overexposure. When activated, it displays zebra stripes on areas of your image that are losing detail due to overexposure. This visual feedback alerts you to reduce shutter speed, ISO, or exposure compensation, ensuring that highlight details are preserved in your pictures of food, resulting in a more balanced and dynamic image.
Essential Gear for Stunning iPhone Food Pictures
While your iPhone is a capable tool, certain accessories can significantly enhance your food photography setup and help you capture even more impressive pictures of food:
9. Lighting: Illuminate Your Food Pictures Effectively
Adequate lighting is paramount for high-quality pictures of food. When using natural light, position your food setup near a window that receives indirect sunlight. Direct sunlight can be harsh, so diffusing it is key. A large diffuser (or even a white bed sheet or parchment paper as budget-friendly alternatives) placed between the window and your food will soften the light while maintaining brightness, creating beautiful and even illumination for your pictures of food.
For artificial lighting, continuous lights with a wattage of 60W or higher are recommended. Look for lights that are compatible with modifiers like softboxes and grids, allowing you to shape and control the light for various effects in your pictures of food. Godox SLB60 lights are a popular and versatile choice for food photography, offering affordability and compatibility with a range of modifiers.
10. Hands-Free Shooting: Enhance Your Food Styling Workflow
Using a tripod to secure your iPhone frees your hands, making the food styling process more fluid and natural. A tripod with an adjustable center column is particularly useful for overhead shots, allowing you to position your iPhone directly above the food. To attach your phone to the tripod, a smartphone tripod mount or a super clamp is essential. Super clamps offer a secure grip, ensuring your iPhone is safely positioned while you focus on styling and composing your pictures of food.
By mastering these tips and techniques, and utilizing the power of your iPhone camera and tools like Lightroom Mobile, you can take your pictures of food to a professional level, capturing mouthwatering images that are sure to impress.