Dehydrating food is an age-old preservation technique that’s experiencing a resurgence, particularly among outdoor enthusiasts. It’s an excellent way to create lightweight, nutritious, and delicious meals and snacks for backpacking, camping, and everyday use. This comprehensive guide covers everything you need to know about How To Dehydrate And Store Food properly, from choosing the right equipment to mastering rehydration techniques.
The Science Behind Food Dehydration
Dehydration works by removing moisture from food, inhibiting the growth of bacteria, yeast, and mold. This is achieved through a combination of low heat and consistent airflow, effectively extending the shelf life of perishable items. While methods like air-drying and oven-drying exist, this guide focuses on electric food dehydrators, offering the most controlled and efficient approach.
Why Dehydrate Food? Benefits of Dehydrating Food
- Expanded Meal Options: Ditch the limited selection of store-bought backpacking meals and craft your own culinary creations.
- Nutritional Control: Tailor your meals to meet specific dietary needs and preferences, such as low-sodium, high-protein, or gluten-free options.
- Cost Savings: Dehydrating your own food can significantly reduce the cost per meal compared to purchasing pre-packaged alternatives.
- Faster Rehydration: Home-dehydrated foods require less time and fuel to rehydrate on the trail, especially for grains, legumes, and vegetables.
- Preserving Perishables: Safely transport items like meat and fresh produce that would otherwise spoil quickly.
- Reduced Weight and Space: Dramatically reduce the weight of your food while retaining its nutritional value, optimizing pack space for backpacking trips.
Choosing the Right Food Dehydrator
Selecting the right dehydrator is crucial for successful food preservation. Consider these factors when making your purchase:
- Adjustable Temperature Settings: This is essential for safely dehydrating various foods at their optimal temperatures.
- Timer (Optional): While convenient, a timer isn’t strictly necessary as drying times can vary.
- Fan Position:
- Horizontal Flow (Rear-Mounted Fan): More efficient and provides even drying.
- Vertical Flow (Top or Bottom-Mounted Fan): Typically less expensive but may require tray rotation for even drying.
- Capacity: Determine the appropriate capacity based on the quantity of food you plan to dehydrate at once.
- Materials: Choose between plastic (BPA-free options available) or metal. Metal dehydrators are often dishwasher-safe.
- Storage: Consider the storage footprint of the unit, especially if space is limited.
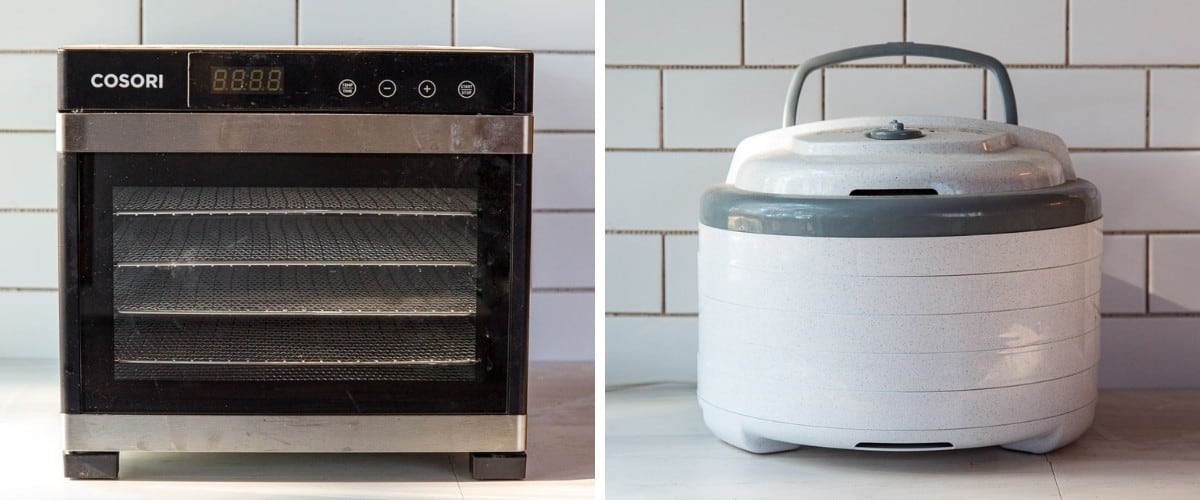
Recommended Dehydrators:
- Nesco Snackmaster FD-75A: A budget-friendly vertical flow option, ideal for beginners.
- COSORI Premium Food Dehydrator: A horizontal flow machine with dishwasher-safe trays and quiet operation.
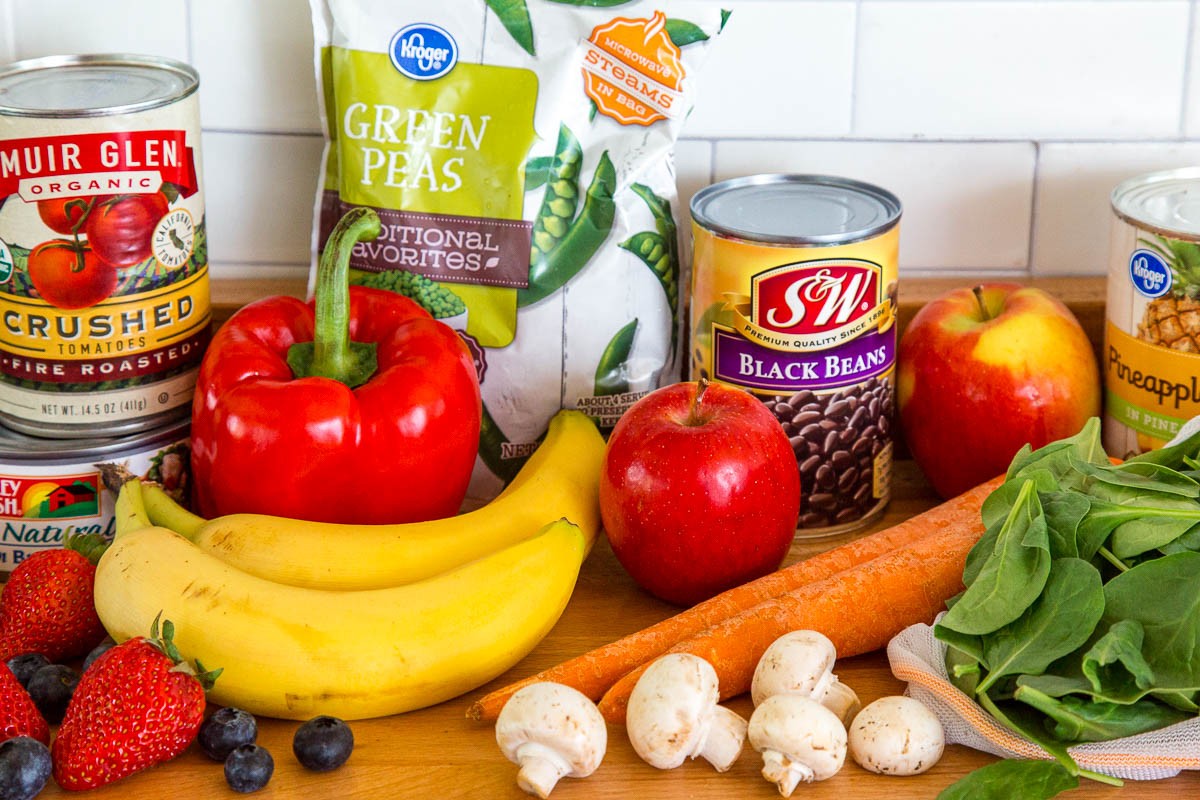
What Foods Can You Dehydrate?
Many foods are suitable for dehydration:
- Fruits (apples, bananas, berries)
- Vegetables (carrots, peppers, onions)
- Legumes (beans, lentils)
- Grains (rice, quinoa, pasta)
- Lean Meats and Seafood
- Herbs
- Fat-Free Sauces
Foods to Avoid:
- Fats: They don’t evaporate and can lead to spoilage.
- Nut Butters: Too high in fat.
- Avocados and Olives: High fat content.
- Dairy Products: Increased risk of food poisoning. Consider using powdered alternatives.
- Eggs: High risk of salmonella. Consider using commercially dehydrated egg products.
- Store-Bought Condiments: Many contain ingredients unsuitable for dehydration (oils, fats, dairy).
Dehydration Temperatures: A Comprehensive Chart
Maintaining the correct temperature is crucial to prevent case hardening (where the outside dries too quickly, trapping moisture inside) and ensure food safety.
| Food Type | Temperature (°F) |
|---|---|
| Herbs | 95 |
| Vegetables | 125 |
| Beans and Lentils | 125 |
| Fruit | 135 |
| Grains | 145 |
| Pre-cooked Meats | 145 |
| Meat, Seafood | 160 |
| Poultry | 165 |

If you need to accelerate the dehydration process, consider cutting food into smaller pieces or reducing the load in your dehydrator rather than increasing the temperature.
Dehydrating Ingredients vs. Complete Meals
You can dehydrate ingredients separately and assemble meals later or dehydrate entire meals at once. When dehydrating full meals, ensure all ingredients can be dehydrated at similar temperatures and that the meal is low in fat. Add cheese and oils during rehydration.
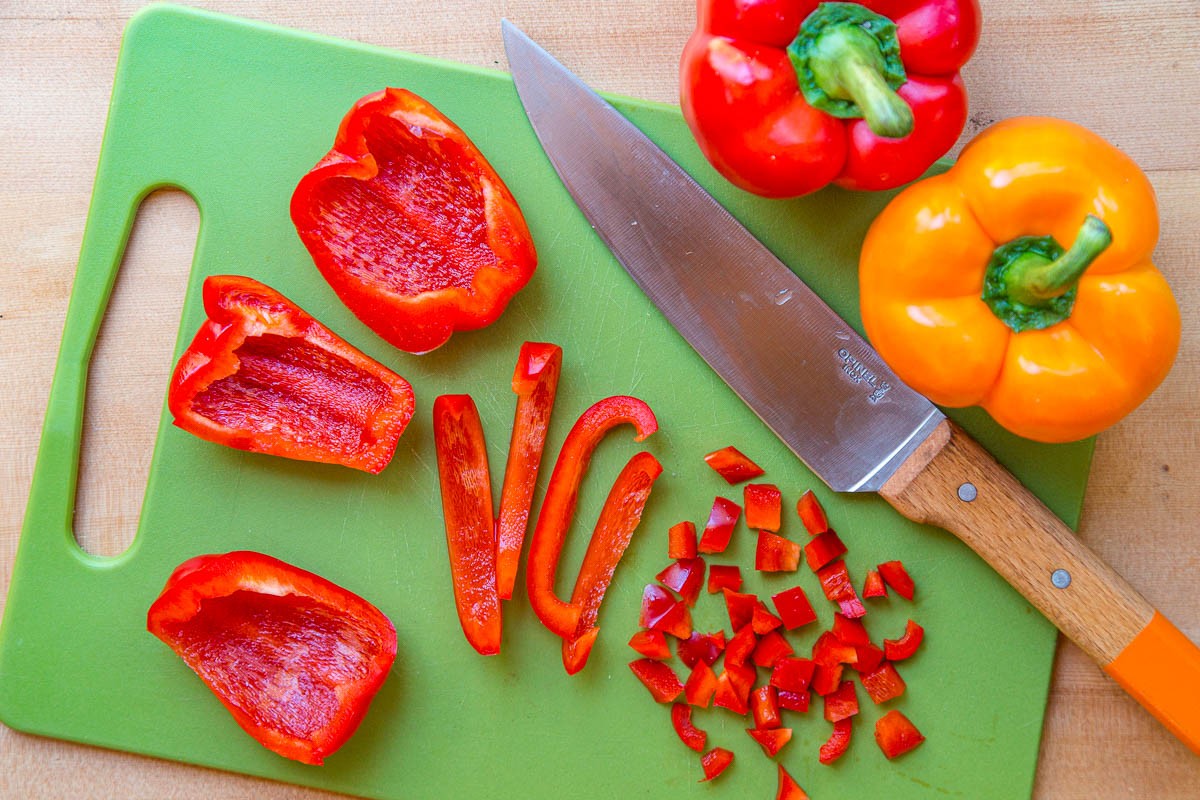
Preparing Food for Dehydration
Proper preparation is key to successful dehydration.
- Cleanliness: Thoroughly clean all surfaces, equipment, and your hands before starting.
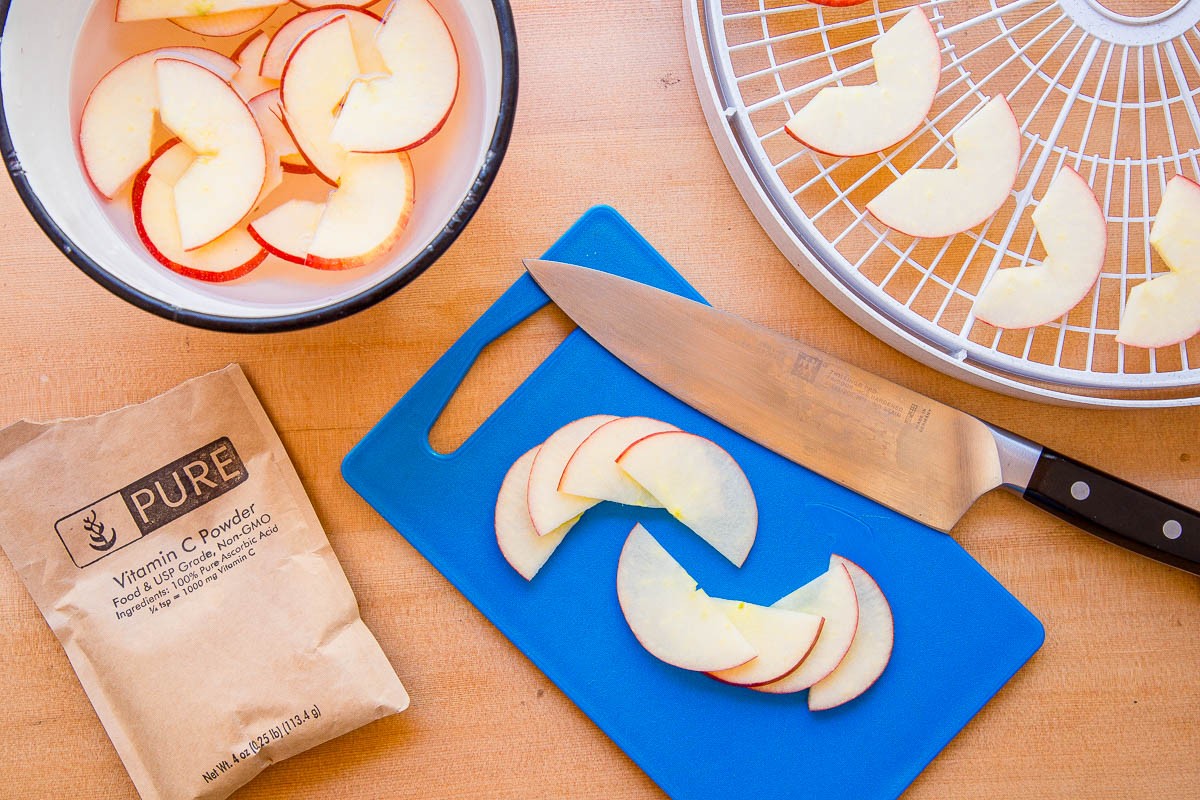
- Uniform Sizing: Cut food into uniformly sized pieces to ensure even drying. A mandoline is helpful for slicing.
Pre-Treating Foods
Pre-treating fruits and vegetables can help retain color, flavor, and texture, improve rehydration, and extend shelf life.
- Ascorbic Acid (Fruits): Soak fruit in a solution of 1 teaspoon powdered ascorbic acid per 2 cups of water for 3-5 minutes to prevent browning.
- Fruit Juice (Fruits): Soak fruit in lemon, lime, or orange juice for 3-5 minutes. Note: This method is less effective than ascorbic acid and will alter the flavor.
- Blanching/Steaming (Vegetables): Blanch or steam vegetables to retain color and reduce rehydration time. This is recommended for vegetables you wouldn’t eat raw.
- Sulfite Dip (Fruits and Vegetables): An option for long-term storage, but can cause reactions in people with sulfite sensitivities.
Dehydrating Specific Foods
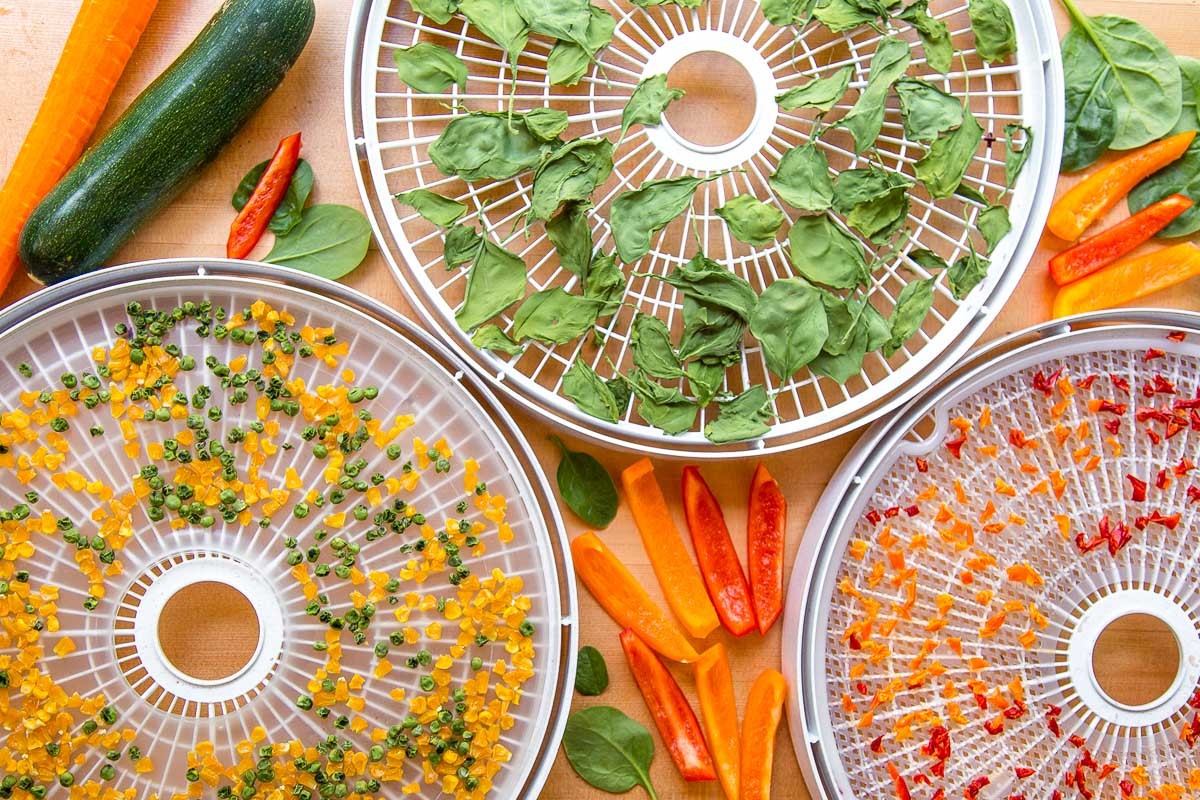
Dehydrating Vegetables
Steam or blanch tough vegetables like carrots, corn, and broccoli. Softer vegetables like spinach, mushrooms, and onions don’t require pre-treatment. Slice vegetables thinly (⅛ inch) or cut into small pieces. Use frozen vegetables as a time-saving shortcut! Dehydrate at 125°F until crisp.
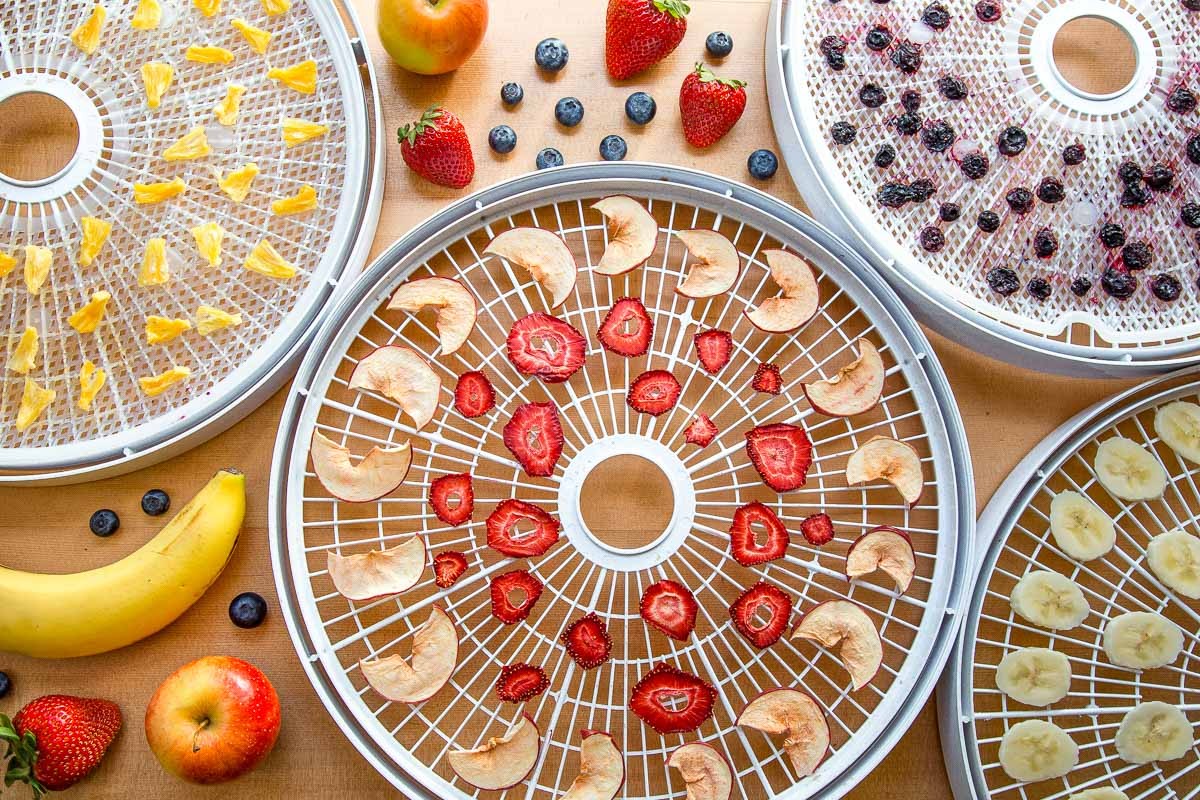
Dehydrating Fruit
Dehydrated fruit is great for snacks and adding to breakfasts. Slice fruit thinly, cut into small pieces, leave whole, or puree into fruit leathers. Blanch whole blueberries, grapes, and cherries to crack the skin for better dehydration. Dehydrate at 135°F in a single layer until leathery and no longer sticky.
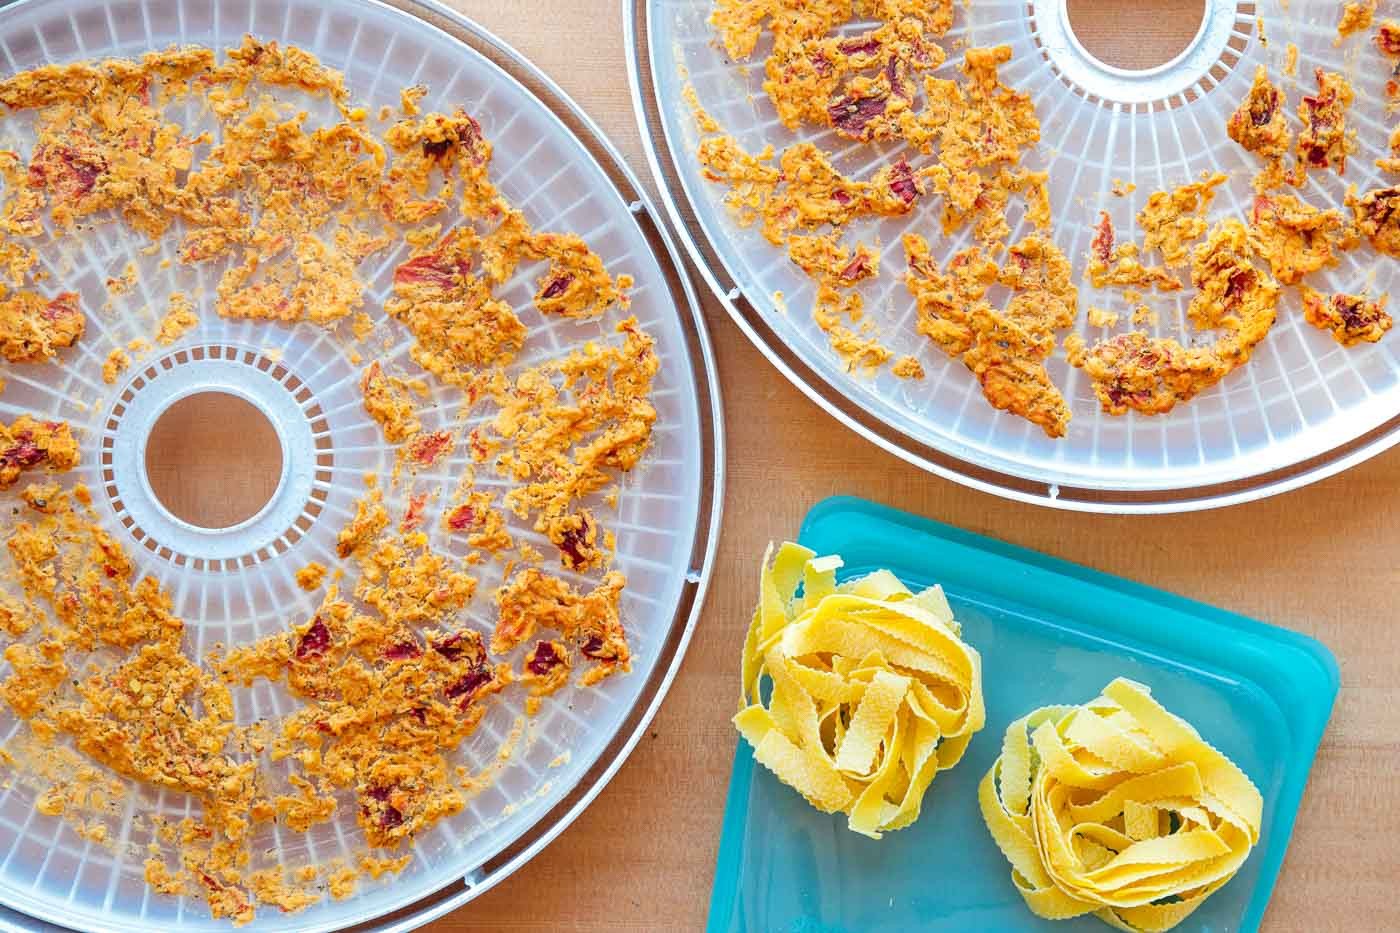
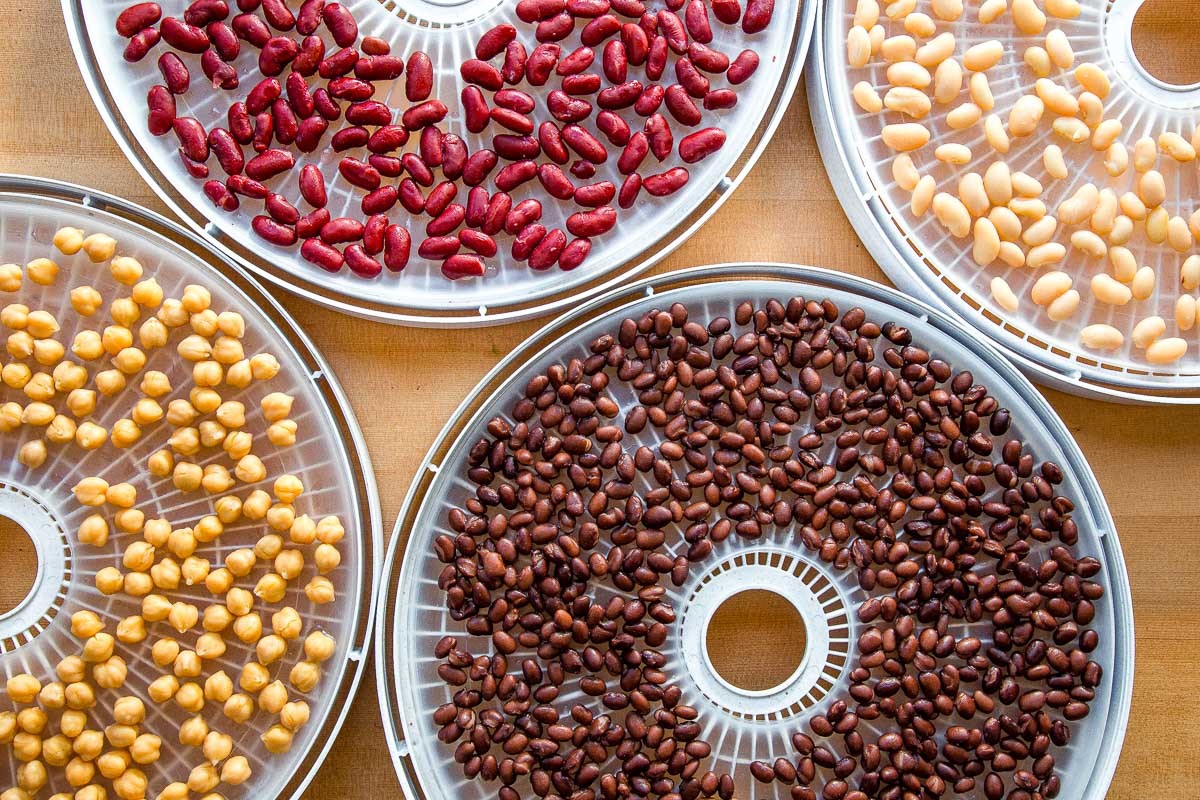
Dehydrating Grains, Legumes, and Pasta
Dehydrating pre-cooked grains, rice, and legumes saves weight and cooking time on the trail.
- Grains and Rice: Cook until just shy of al dente. Dehydrate at 145°F for 6-12 hours.
- Beans and Lentils: Canned or home-cooked beans work well. Dehydrate at 125°F until hard.
- Pasta: Cook as normal, then dehydrate at 135°F until brittle.
Dehydrating Meat
Lean meat can be dehydrated if cooked to a safe temperature (160°F for beef, 165°F for poultry) and then dehydrated at 145°F until completely dried.
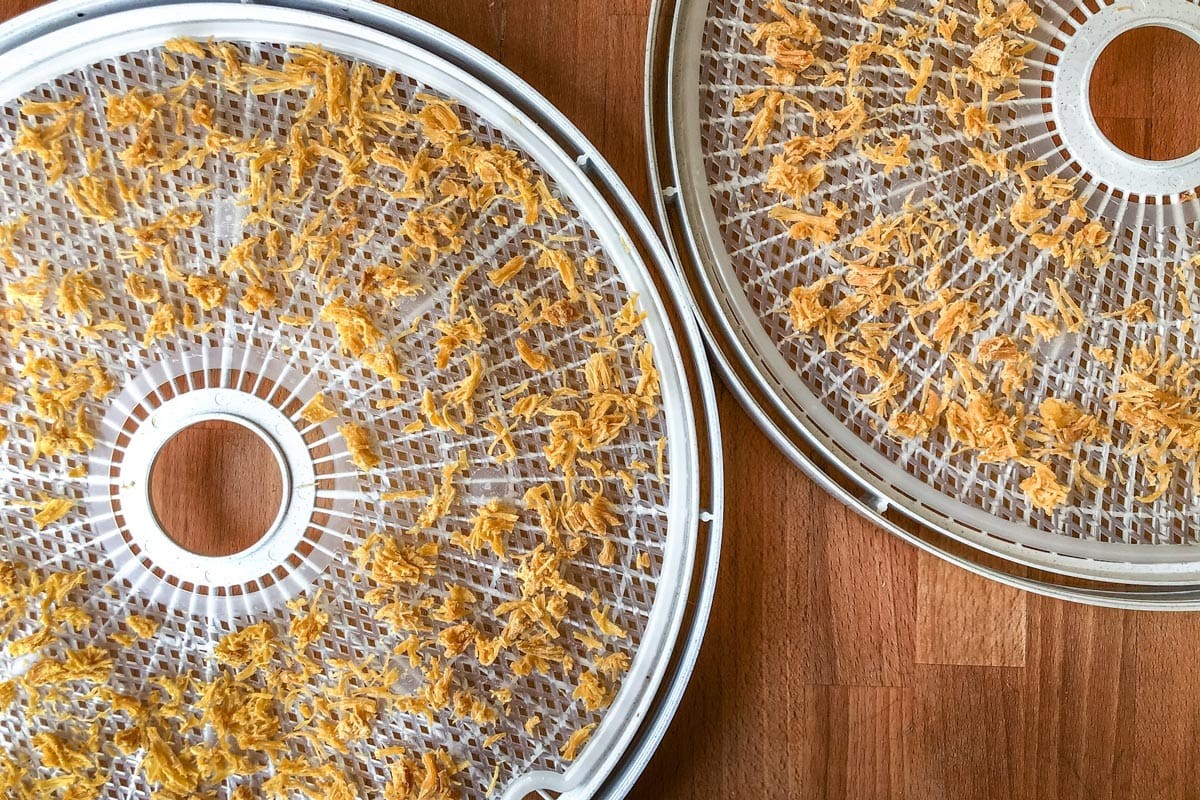
- Ground Beef: Mix lean ground beef with breadcrumbs or ground oats for better rehydration. Cook, drain fat, and dehydrate.
- Chicken: Pressure-cooked chicken rehydrates best. Rinse, shred, and dehydrate.
- Ground Turkey: Similar to ground beef, mix with breadcrumbs or oats, cook, drain fat, and dehydrate.
How to Store Dehydrated Food Properly
Proper storage is critical for maintaining the quality and safety of dehydrated foods.
Shelf Life of Dehydrated Foods
- Fruits & Vegetables: Up to 1 year (fruit), 6 months (vegetables) at 60°F
- Fruit Leathers: Up to 1 month at room temperature, 1 year in the freezer
- Meat: 1-2 months, or 6 months if vacuum-sealed and frozen
- Grains, Beans, and Rice: 1 year
Conditioning
Conditioning equalizes moisture levels in dried fruit, reducing the risk of mold growth. Cool the dried fruit and store it loosely packed in a clear, airtight container for a week, checking daily for moisture or condensation. If moisture is present, dry the fruit further.
Storage Methods
Store dehydrated food in airtight containers in a cool, dry, dark place with good ventilation.
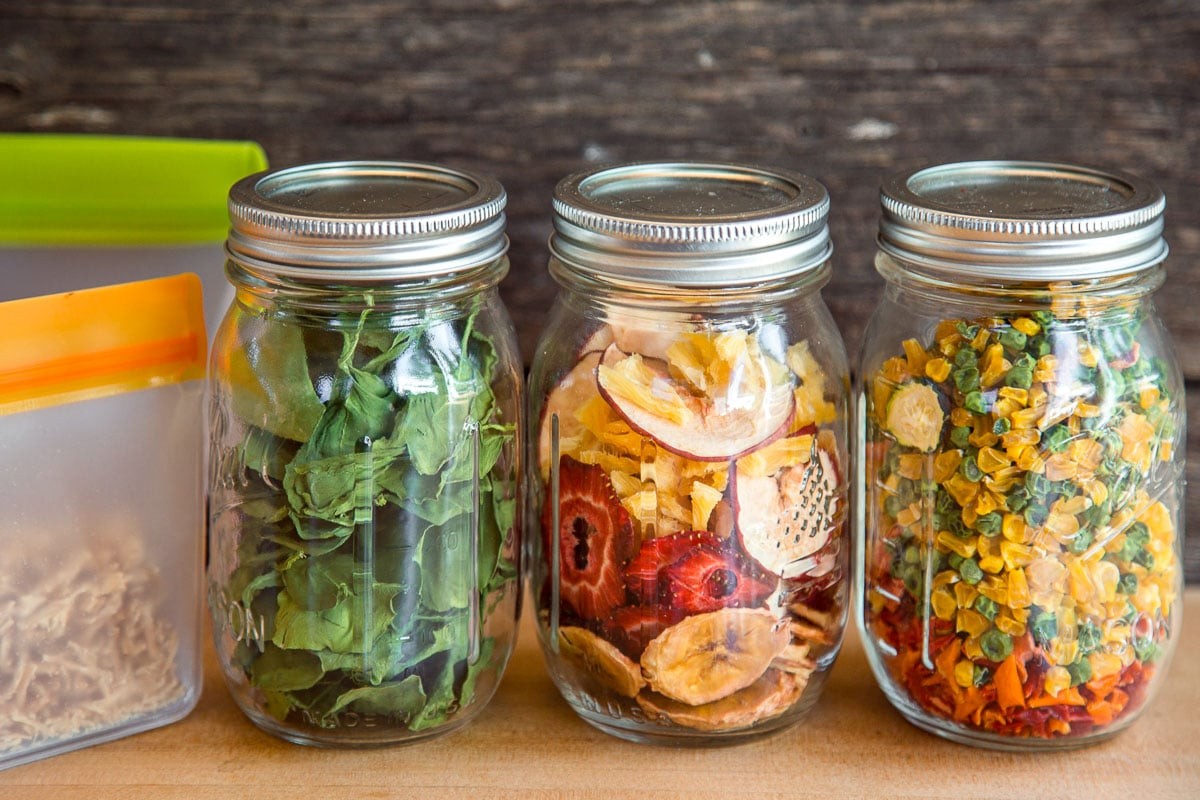
- Resealable Container with Refrigeration: Suitable for short-term storage (1-2 weeks).
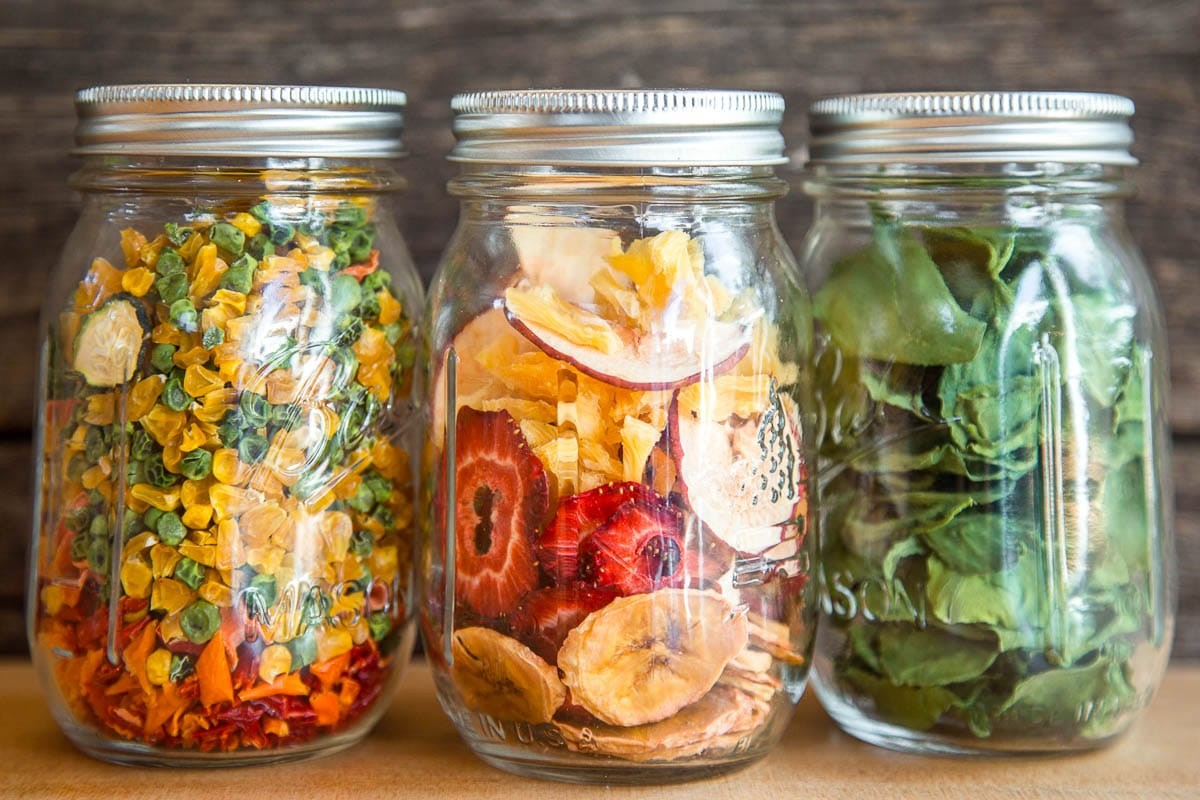
- Airtight Containers: Glass or hard plastic containers (canning jars) for longer-term storage.
- Vacuum Sealing: Removes oxygen for extended shelf life. Use vacuum seal bags or jar sealers.
- Mylar Bags: Combine with oxygen absorbers for long-term storage. Heat-rated mylar bags can be used for boil-in-bag rehydration.
Desiccant vs. Oxygen Absorber Packets
- Desiccant Packets: Remove moisture, useful when vacuum sealing jars.
- Oxygen Absorber Packets: Remove oxygen, ideal for heat-sealed mylar bags or canning jars without vacuum sealing.
Rehydrating Dehydrated Food in the Field
Rehydration requires water, heat, and time. Add enough water to cover the ingredients, adjusting for desired consistency.
Rehydration Methods:
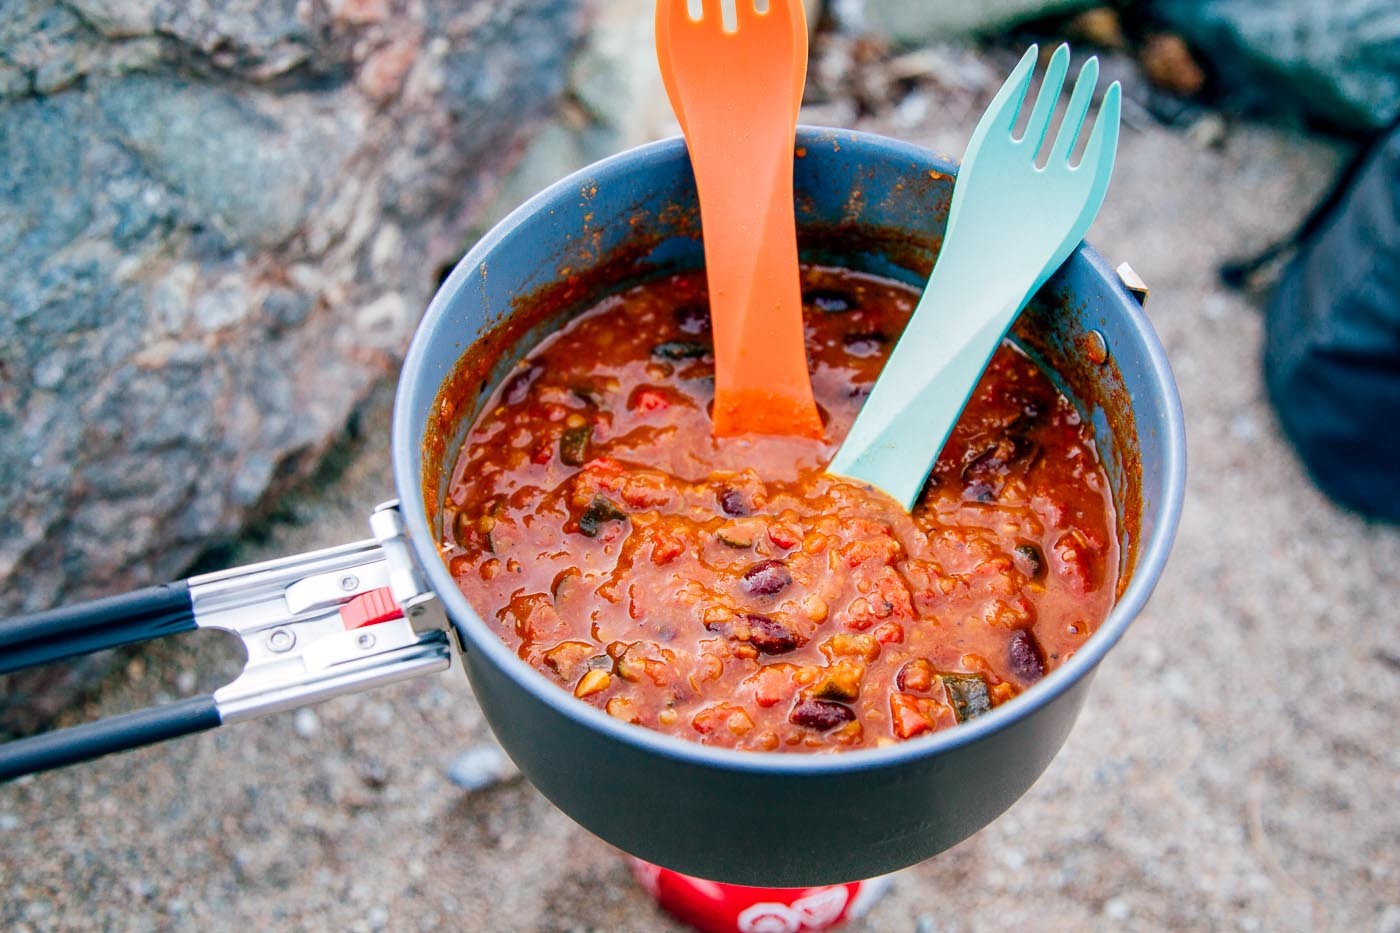
- Soak & Simmer: Fastest method, uses the most fuel. Soak the meal and simmer until rehydrated.
- Soak, Simmer & Set: Uses less fuel. Soak, simmer briefly, then place in a cozy to rehydrate.
- Boil in Bag: Pour boiling water into a heat-rated mylar bag, seal, and let rehydrate. Most fuel-efficient.
Dehydrated Recipe Inspiration
Explore these delicious dehydrated meal ideas:
Breakfasts:
- Apple Cinnamon Quinoa Porridge
- Strawberries and Cream Quinoa Porridge
- Blueberry Coconut Oatmeal
Dinners:
- Tortilla Soup
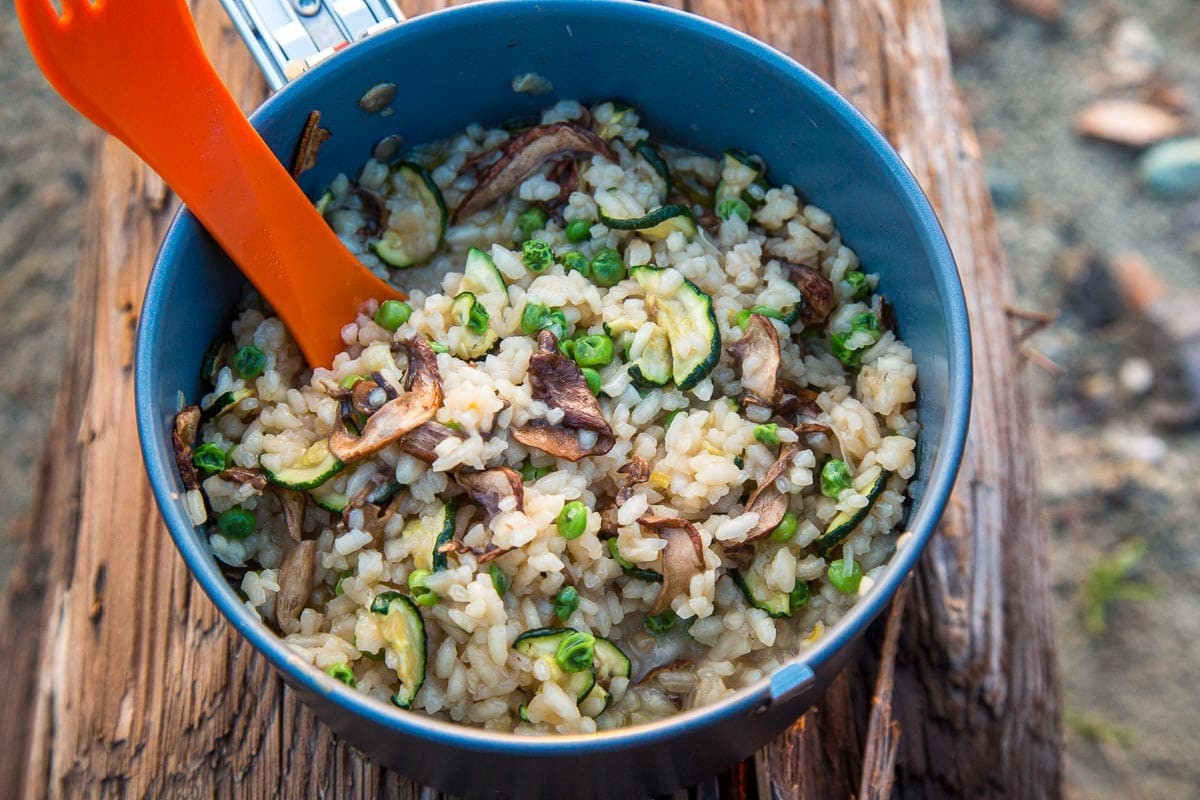
- Risotto with Vegetables
- Red Lentil and Bean Chili
- Pasta Primavera
Snacks:
- How to Make Beef Jerky
- Tie-Dye Fruit Leather
- Teriyaki Beef Jerky
Desserts:
- Apple Crisp
Sources
Utah State University: Pretreatments to Prevent Darkening of Fruits Prior to Canning or Dehydrating
USDA: Jerky and Food Safety
National Center for Home Preservation: Packing and Storing Dried Foods
National Center for Home Preservation: Drying Fruit Leathers
University of Georgia: Preserving Food – Drying Fruits and Vegetables
The Dehydrator Cookbook for Outdoor Adventurers by Julie Mosier