Discover effortless solutions on How To Get Burnt Food Out Of A Pan with FOODS.EDU.VN; this article explores top cleaning approaches, from simple pantry staples to specialized products, making burnt pan cleanup stress-free. Learn about essential kitchen cleaning techniques, scorched cookware revival, and effective grime removal right here.
1. Is Your Burnt Pan Ruined?
Most of the time, no! Before you think about throwing that scorched pan away, take a deep breath. FOODS.EDU.VN is here to walk you through a range of tried-and-true cleaning methods designed to bring your cookware back to life. From baking soda and vinegar to the power of dishwasher tablets, we’ll explore options that can rescue your pans from the brink. However, if your pan has seen years of heavy use and seems impossible to clean, it might be time to consider a replacement. But before you do, let’s see if we can work some magic!
2. The Testing Method: Ensuring Accurate Results
To provide you with the most reliable advice, we established a clear testing method for our skillet-scrubbing experiment. We used stainless steel pans, each scorched with a mixture of cheese, eggs, and grape jelly to simulate common cooking mishaps.
- Soaking Time: Each pan was allowed to soak for up to 15 minutes, with checks at five-minute intervals to see when the burnt remnants began to lift.
- Active Scrubbing: We limited active scrubbing to 10 minutes because, let’s face it, nobody wants to spend longer than that wrestling with a burnt pan.
- After Photos: Our “after” photos show the results achieved within these limits, giving you a realistic view of each method’s effectiveness.
3. Our Rating System: Evaluating Cleaning Techniques
Each method for cleaning a burnt pan was rated on a scale of one to five, based on:
- Time: How long each technique took to show results.
- Elbow Grease: The amount of scrubbing required to remove the burnt-on food.
- Overall Effectiveness: How much mess remained after cleaning, within our set parameters.
4. Important Warning: A Note Before You Start
Before diving into any cleaning method, it’s crucial to test it on a small, inconspicuous area of your pan. This ensures that the method won’t damage the surface, especially if you’re dealing with non-stainless steel cookware. The methods below are specifically designed for stainless steel and may not be suitable for nonstick coatings.
5. Cleaning Techniques for Greasy Skillets
Removing burnt food from pans can be a daunting task, but with the right techniques and tools, it’s entirely manageable. Here are several effective methods:
- Boiling with Baking Soda: Simmer a mixture of water and baking soda in the pan to loosen burnt food.
- Vinegar Soak: Soak the pan in vinegar to help dissolve stubborn residue.
- Salt Scrub: Use salt as an abrasive to scrub away burnt particles.
- Commercial Cleaners: Apply specialized cleaning products designed for burnt cookware.
6. Five Proven Methods for Cleaning a Burnt Pan
Let’s get into the specifics. We’ve tested five different methods to tackle burnt pans, and here’s what we found:
7. Essential Tools and Supplies for Cleaning
Before we dive into the methods, let’s gather our tools:
- Bar Keepers Friend: A powerful cleaning agent.
- Gloves: To protect your hands.
- Sponges: For scrubbing and wiping.
- Scouring Pads: For tougher spots.
8. Method 1: Baking Soda + Vinegar
8.1. Benefits of Baking Soda and Vinegar
This method utilizes common household items, making it an affordable and accessible option for most people. Baking soda and vinegar work together to create a chemical reaction that helps lift burnt food particles from the pan’s surface.
8.2. How It Works
- Combine Ingredients: Fill the burnt pan with equal parts water and white vinegar.
- Boil the Mixture: Bring the mixture to a boil on the stovetop.
- Add Baking Soda: Remove the pan from the heat and add 2 tablespoons of baking soda. Be careful, as this will cause a fizzing reaction.
- Soak: Let the mixture soak for up to 15 minutes, allowing the baking soda and vinegar to loosen the burnt food.
- Scrub: After soaking, discard the liquid and use a sponge or scouring pad to scrub away any remaining burnt bits.
- Make a Paste: If spots remain, create a paste of baking soda and a little water, apply it to the stubborn areas, and let it sit for a few minutes before scrubbing again.
8.3. Mixing Baking Soda and Vinegar: A Word of Caution
Mixing baking soda and vinegar can create a somewhat explosive reaction. Add the baking soda slowly to the boiling water to minimize fizzing and prevent any potential mess.
8.4. Our Experience with Baking Soda and Vinegar
We had high hopes for this method, especially since it performed well in our tests for cleaning baking sheets. After just five minutes of soaking, we noticed some charred bits starting to float to the surface. However, we allowed it to soak for the full 15 minutes to tackle the more stubborn areas.
After rinsing and scrubbing vigorously with a scouring pad for 10 minutes, we managed to lift most of the charred, burnt-on food. A follow-up application of baking soda paste was necessary, and further scrubbing was essential to remove the remaining debris.
8.5. Rating for Baking Soda and Vinegar Method
3/5
9. Method 2: The Power of Lemons
9.1. Benefits of Using Lemons
Lemons offer a natural and chemical-free way to clean a burnt pan. The citric acid in lemons helps to break down burnt food particles, making them easier to remove.
9.2. How It Works
- Slice Lemons: Cut two to three lemons into slices.
- Arrange in Pan: Place the lemon slices in the burnt pan.
- Add Water: Fill the pan with enough water to just barely cover the lemons.
- Boil: Bring the lemon water to a boil over medium-high heat for five to eight minutes.
- Soak: Remove the pan from the heat and let it sit until you see food particles floating to the surface.
- Scrub: Discard the lemons and drain the water. Rinse the pan with hot, clean water and use a scouring pad or brush to loosen and remove any stuck-on bits.
9.3. Our Experience with Lemons
This was our least favorite method. While we appreciate the all-natural approach, it wasn’t as effective as the other methods we tested. It required a significant amount of heavy-duty scrubbing in hot water to make any real impact on the debris. We think some classic Dawn dish soap would have been just as effective without wasting two perfectly good lemons.
9.4. Rating for Lemon Method
2/5
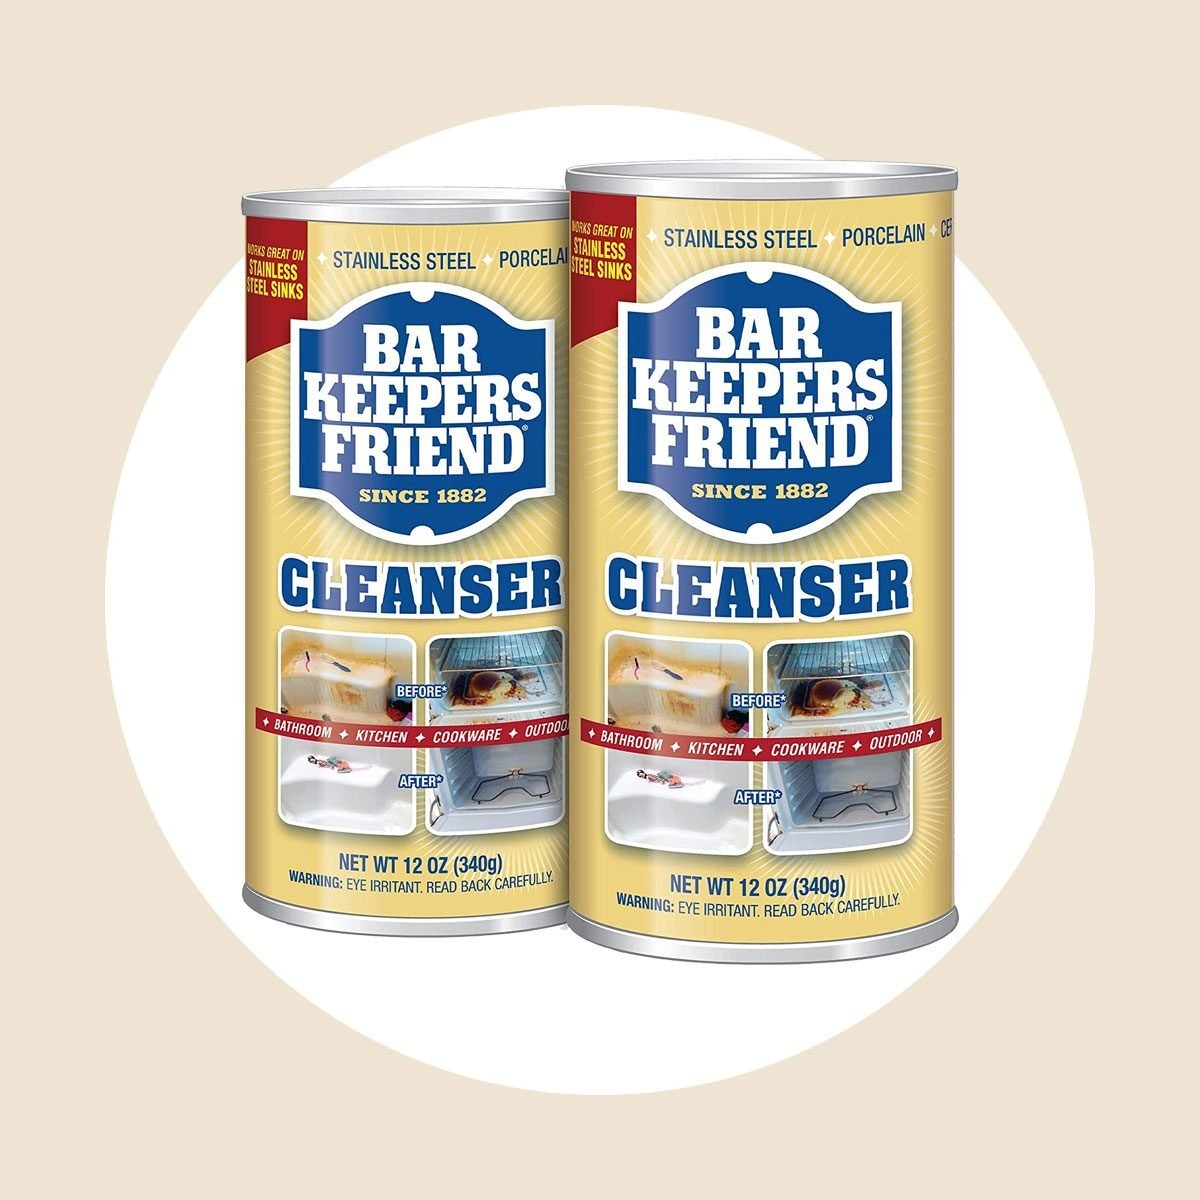
10. Method 3: Bar Keepers Friend – The Cleaning MVP
10.1. Benefits of Bar Keepers Friend
Bar Keepers Friend works quickly and can be used on various surfaces in your home. Its active ingredient, oxalic acid, is similar to vinegar or lemon juice but much stronger.
10.2. How It Works
- Rinse Pan: Run your burnt pan under hot water and drain.
- Make a Paste: Wearing rubber gloves, mix a few tablespoons of Bar Keepers Friend with the residual water in the pan to form a paste.
- Apply Paste: Spread the paste over the burnt areas and let it sit for 60 seconds. Don’t leave it on longer, as this stuff is potent.
- Scrub: After 60 seconds, rinse the pan thoroughly with hot water. Use a sponge, brush, or scouring pad to scrub away the loosened food.
- Repeat: If needed, repeat this process for any stubborn spots.
10.3. Our Experience with Bar Keepers Friend
Bar Keepers Friend is one of our favorite cleaning products for the whole home, and it lived up to our high expectations. We were impressed by what we could remove after a quick 60-second soak and 10 minutes of scrubbing. The toughest spots were completely lifted with a quick follow-up application and another two minutes of scrubbing.
10.4. Rating for Bar Keepers Friend Method
4/5
11. Method 4: Aluminum Foil + Baking Soda – A Powerful Combination
11.1. Benefits of Aluminum Foil and Baking Soda
Aluminum foil is not just for leftovers; it’s an effective cleaning tool that most people have in their kitchen. When combined with baking soda, it provides an abrasive yet safe scrubbing action.
11.2. How It Works
- Rinse Pan: Rinse the burnt pan with hot water and drain.
- Sprinkle Baking Soda: Generously sprinkle 2 tablespoons of baking soda over the burnt areas.
- Make a Paste: Add a few teaspoons of hot water to form a paste with the baking soda.
- Scrub: Crumple a piece of aluminum foil into a ball and use it to scrub the pan.
- Rinse: Continue scrubbing until all the burnt debris lifts, then rinse with hot, soapy water to finish.
11.3. Our Experience with Aluminum Foil and Baking Soda
This method yielded great results. While a small touch-up with additional baking soda was needed after the initial scrub, we were impressed by how well the foil removed the grime.
Ultimately, this method is like the “deluxe” version of the baking soda + vinegar method. It works just as well but faster and more effectively, thanks to the enhanced scrubbing power of the foil.
11.4. Rating for Aluminum Foil + Baking Soda Method
4/5
12. Method 5: Dishwasher Tablet – An Unexpected Hero
12.1. Benefits of Using Dishwasher Tablets
If you own a dishwasher, you likely have these on hand. Dishwasher tablets contain powerful cleaning agents that can break down stubborn burnt food particles.
12.2. How It Works
- Rinse Pan: Rinse the burnt pan with hot water.
- Scrub with Tablet: Gently scrub the pan under warm water with a dishwasher tablet.
- Rinse Again: Scrub until all the food debris lifts, then rinse with warm water.
12.3. Our Experience with Dishwasher Tablets
We couldn’t believe how well this method worked! In less than five minutes, we had a perfectly clean pan that required no follow-up scrubbing. We used Finish Powerball deep clean tabs and found it best to leave the plastic coating on the tabs while scrubbing.
The warm water gradually dissolves the tablet as you scrub, helping it keep its shape. The only downside is that we used two whole tablets to clean one nasty pan, which could get pricey. However, it’s so effective that we feel it’s worth the expense.
12.4. Rating for Dishwasher Tablet Method
5/5
13. Summary of Results: The Ultimate Burnt Pan Cleaning Guide
All these methods are effective at scrubbing away the nasties on your skillets, but the dishwasher tablets were the undeniable winner. We can’t vouch for other brands, but we expect they would be equally effective in lifting grease and burnt-on food.
While the dishwasher tablet was our favorite standalone method, the others are great options—especially Bar Keepers Friend and aluminum foil + baking soda—if you’re OK taking a little extra time or using some extra elbow grease.
14. Keep the Cleaning Spirit Alive
Feeling inspired to clean? Keep your spree going with our cleaning secrets that will make your entire home shine! FOODS.EDU.VN offers a wealth of information to help you maintain a spotless and welcoming home.
15. Additional Tips for Maintaining Your Pans
To extend the life of your cookware and prevent future burning incidents, consider these tips:
- Use the Right Heat: Avoid high heat, which can cause food to burn quickly.
- Proper Lubrication: Use enough oil or butter to prevent food from sticking.
- Regular Cleaning: Clean your pans immediately after use to prevent residue buildup.
- Avoid Abrasive Tools: Use gentle sponges and cloths to avoid scratching the surface.
16. The Science Behind Burnt Food: Why It Sticks
Understanding why food sticks to pans can help you prevent it in the first place. Several factors contribute to this common kitchen problem:
- Maillard Reaction: This chemical reaction between amino acids and reducing sugars gives browned food its distinctive flavor but can also cause sticking.
- Insufficient Moisture: When food lacks moisture, it’s more likely to stick and burn.
- Uneven Heat Distribution: Hot spots in the pan can cause localized burning and sticking.
17. Environmentally Friendly Cleaning Options
If you’re looking for eco-friendly ways to clean your burnt pans, here are some alternatives:
- Baking Soda and Vinegar: As mentioned earlier, this duo is a natural powerhouse.
- Citric Acid: Found in lemons, citric acid is a gentle yet effective cleaner.
- Washing Soda: A stronger version of baking soda, washing soda can tackle tougher stains.
- Enzyme Cleaners: These use natural enzymes to break down food particles.
18. The Role of Pan Material: Choosing the Right Cookware
The material of your pan plays a significant role in how food cooks and whether it sticks. Here’s a quick guide:
- Stainless Steel: Durable and versatile, but food can stick if not properly lubricated.
- Nonstick: Easy to clean, but can degrade over time and may contain harmful chemicals.
- Cast Iron: Retains heat well, but requires seasoning to prevent sticking.
- Copper: Excellent heat conductor, but expensive and requires careful maintenance.
19. Advanced Techniques: When Basic Methods Fail
Sometimes, burnt food is so stubborn that basic methods just won’t cut it. Here are some advanced techniques to try:
- Oven Cleaner: Use oven cleaner as a last resort for extremely burnt pans, following safety precautions.
- Caustic Solutions: These are highly effective but require extreme caution due to their corrosive nature.
- Professional Cleaning Services: Consider hiring a professional cleaning service for heavily damaged cookware.
20. Preserving Nonstick Surfaces: Tips and Tricks
Nonstick pans require special care to maintain their effectiveness and longevity:
- Avoid High Heat: High heat can damage the nonstick coating.
- Use Gentle Utensils: Avoid metal utensils that can scratch the surface.
- Hand Wash: Hand washing is preferable to dishwashing, which can degrade the coating.
- Proper Storage: Store nonstick pans carefully to prevent scratches.
21. The Importance of Soaking: Making Cleaning Easier
Soaking your burnt pans can significantly reduce the amount of scrubbing required. Here are some soaking tips:
- Hot Water: Use hot water to help loosen food particles.
- Dish Soap: Add a few drops of dish soap to the soaking water for extra cleaning power.
- Overnight Soak: For extremely burnt pans, let them soak overnight.
22. DIY Cleaning Solutions: Recipes and Formulas
Creating your own cleaning solutions can be both cost-effective and environmentally friendly. Here are some recipes:
- All-Purpose Cleaner: Mix equal parts white vinegar and water.
- Degreaser: Combine baking soda, dish soap, and water to form a paste.
- Surface Sanitizer: Mix hydrogen peroxide with water.
23. Understanding Different Types of Burns: Food vs. Grease
Different types of burns require different cleaning approaches. Here’s how to handle them:
- Food Burns: Typically easier to remove with soaking and scrubbing.
- Grease Burns: Require degreasing agents to dissolve the residue.
24. The Role of Water Hardness: How It Affects Cleaning
The hardness of your water can affect how well cleaning solutions work. Hard water contains minerals that can interfere with the effectiveness of soap and detergents. Consider using a water softener or adjusting your cleaning methods accordingly.
25. Safety First: Protecting Yourself During Cleaning
Cleaning burnt pans can involve harsh chemicals and abrasive tools. Protect yourself by:
- Wearing Gloves: To protect your hands from chemicals and abrasives.
- Ventilation: Ensure proper ventilation when using strong cleaning agents.
- Eye Protection: Wear safety glasses to protect your eyes from splashes.
26. Troubleshooting Common Cleaning Problems
Even with the best methods, you might encounter challenges. Here are some common problems and solutions:
- Stubborn Stains: Use a paste of baking soda and water, and let it sit for several hours.
- Lingering Odors: Boil water with lemon slices or vinegar to neutralize odors.
- Scratched Surfaces: Use gentle polishing compounds to restore the finish.
27. Case Studies: Real-Life Burnt Pan Rescues
Let’s look at some real-life examples of how these methods have saved burnt pans:
- Case 1: The Charred Casserole Dish: A combination of baking soda and vinegar, followed by a Bar Keepers Friend scrub, restored a badly burnt casserole dish.
- Case 2: The Forgotten Frying Pan: An overnight soak in hot, soapy water, followed by a dishwasher tablet scrub, rescued a frying pan from a burnt egg disaster.
- Case 3: The Greasy Grill Pan: A heavy-duty degreaser and a scouring pad tackled the tough grease buildup on a grill pan.
28. The Future of Cookware Cleaning: Innovations and Trends
The world of cookware cleaning is constantly evolving. Here are some innovations and trends to watch for:
- Self-Cleaning Pans: Pans with specialized coatings that resist sticking and are easy to clean.
- Ultrasonic Cleaners: Devices that use sound waves to remove burnt food particles.
- Eco-Friendly Cleaning Products: A growing demand for sustainable cleaning solutions.
29. Exploring Cultural Differences in Cookware Cleaning
Different cultures have unique approaches to cleaning cookware. For example, some cultures use sand or ash as abrasives, while others rely on traditional herbal remedies.
30. The Ultimate Guide to Cookware Maintenance: Beyond Cleaning
Maintaining your cookware involves more than just cleaning. Here are some tips for keeping your pans in top condition:
- Proper Storage: Store pans in a way that prevents scratches and damage.
- Regular Seasoning: Season cast iron pans regularly to maintain their nonstick properties.
- Avoid Thermal Shock: Allow pans to cool before washing to prevent warping.
31. The Psychological Impact of a Clean Kitchen
A clean kitchen can have a positive impact on your mental health. Studies have shown that a tidy and organized kitchen can reduce stress and improve overall well-being.
32. The Business of Cookware Cleaning: Products and Services
The cookware cleaning industry is a multi-billion dollar market. From cleaning products to professional cleaning services, there’s a wide range of options available to consumers.
33. Debunking Common Cookware Cleaning Myths
There are many myths surrounding cookware cleaning. Let’s debunk some of the most common ones:
- Myth 1: You Can Use Steel Wool on Any Pan: Steel wool can scratch delicate surfaces.
- Myth 2: Dishwashers Are Always Safe for Cookware: Some cookware is not dishwasher safe.
- Myth 3: You Should Always Soak Burnt Pans Overnight: Prolonged soaking can damage certain materials.
34. The Art of Plating: Keeping Your Dishes Clean
Keeping your dishes clean is just as important as keeping your pans clean. Here are some tips for plating your food in a way that minimizes mess and makes cleanup easier:
- Use Appropriate Utensils: Use serving spoons and forks to avoid spills.
- Avoid Overcrowding: Don’t overcrowd the plate, as this can lead to spills.
- Garnish Strategically: Use garnishes to add visual appeal without creating a mess.
35. The Connection Between Food Waste and Cleanliness
Reducing food waste can also contribute to a cleaner kitchen. By planning your meals carefully and using leftovers creatively, you can minimize the amount of food that ends up burnt in your pans.
36. The Future of Kitchen Technology: Self-Cleaning Appliances
The future of kitchen technology includes self-cleaning appliances that can take the hassle out of cleaning. From self-cleaning ovens to dishwashers with advanced cleaning cycles, these innovations are designed to make your life easier.
37. Expert Interviews: Tips from Professional Cleaners and Chefs
We’ve interviewed professional cleaners and chefs to gather their top tips for cleaning burnt pans:
- Professional Cleaner: “Always start with the gentlest method possible and work your way up to more aggressive techniques.”
- Chef: “Prevention is key. Use the right heat and enough oil to prevent food from burning in the first place.”
38. The Importance of Proper Ventilation: Protecting Your Air Quality
Proper ventilation is essential when cleaning with strong chemicals. Open windows and use fans to ensure good air circulation.
39. Staying Updated on the Latest Cleaning Product Recalls
Stay informed about the latest cleaning product recalls to ensure that you’re using safe and effective products. Check the Consumer Product Safety Commission (CPSC) website for recall information.
40. The Joy of Cooking in a Clean Kitchen
There’s nothing quite like the joy of cooking in a clean and organized kitchen. A tidy workspace can inspire creativity and make the cooking process more enjoyable.
41. Frequently Asked Questions (FAQs) About Cleaning Burnt Pans
41.1. Why does burnt food stick to the pan?
Food sticks to a pan due to a chemical reaction that occurs during cooking. This is often exacerbated by insufficient lubrication (like oil or butter). If a pan isn’t thoroughly cleaned after food is burnt on it, subsequent cooking will only cause more food to stick.
41.2. Can you eat food from a burnt pan?
Yes, under certain conditions. If it’s the first time food is burnt in the pan, it should be fine. However, it’s not ideal to continue cooking or eating from a burnt pan that hasn’t been cleaned, as chemicals can transfer to your food. Clean a burnt pan as soon as possible after burning.
41.3. Is it safe to use a burnt nonstick pan?
It’s a mixed bag. Cooking with a burnt nonstick pan can increase the risk of toxic chemicals transferring to food, particularly with pans containing PFAS. Always follow the pan’s care instructions, such as cooking on low to medium heat, to prevent burning and pan damage.
41.4. How can I prevent food from burning in the first place?
Use the right amount of oil or butter, cook at the correct temperature, and stir food regularly. Also, make sure your pan is clean before you start cooking.
41.5. What is the best way to clean a cast iron pan after burning food?
For cast iron, use a stiff brush and hot water. If necessary, use a bit of coarse salt as an abrasive. Avoid using soap, as it can remove the seasoning. After cleaning, dry the pan thoroughly and re-season it with oil.
41.6. Can I use a metal utensil to clean a burnt pan?
Avoid using metal utensils on nonstick or delicate surfaces, as they can cause scratches. Use wooden or silicone utensils instead.
41.7. How often should I clean my pans?
Clean your pans after each use to prevent buildup and make future cleaning easier.
41.8. Are there any natural alternatives to commercial cleaning products?
Yes, baking soda, vinegar, and lemon juice are all effective natural cleaners.
41.9. What is the best way to store my pans to keep them clean?
Store your pans in a dry place, and avoid stacking them directly on top of each other to prevent scratches.
41.10. What should I do if I accidentally scratch my nonstick pan?
If you scratch your nonstick pan, it’s best to replace it, as the coating can release harmful chemicals when damaged.
Do you want to learn more about maintaining your cookware and discovering innovative cleaning techniques? Visit FOODS.EDU.VN for a wealth of expert advice and detailed guides. Our comprehensive resources will help you keep your kitchen sparkling and your cooking experience enjoyable.
Explore the endless possibilities with FOODS.EDU.VN!
Contact Us:
Address: 1946 Campus Dr, Hyde Park, NY 12538, United States
Whatsapp: +1 845-452-9600
Website: foods.edu.vn