Dyeing Easter eggs is a beloved tradition, bringing vibrant colors and creative fun to the holiday. Forget expensive, single-use kits! Did you know you can easily achieve stunning, custom-colored Easter eggs using simple food coloring and vinegar from your kitchen? This guide provides a comprehensive walkthrough on How To Make Dyed Eggs With Food Coloring, including precise formulas to create over 40 unique shades. Get ready to elevate your Easter egg decorating game!
Supplies for Egg Dyeing Success
Before you start, gather these essential supplies to ensure a smooth and colorful egg-dyeing experience:
- Eggs: White or brown eggs work well. You can use raw or hard-boiled eggs, depending on your preference (hard-boiled are less messy!).
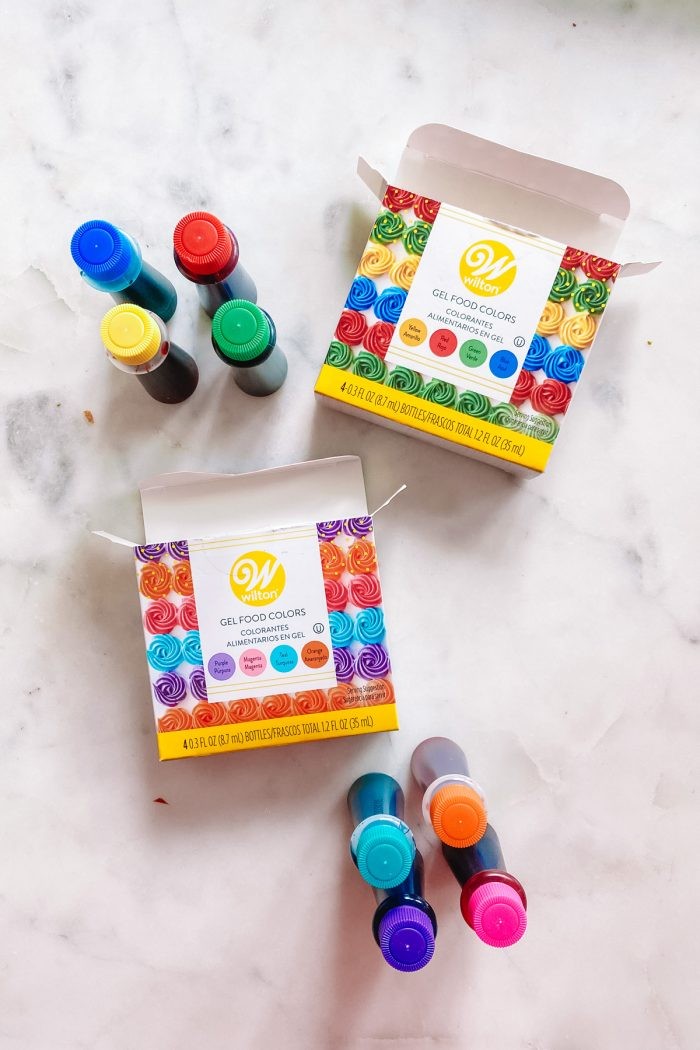
- Food Coloring: Liquid food coloring or gel food coloring (Wilton brand recommended) are ideal. A set of primary colors and neon colors will offer the widest range of possibilities.
- White Vinegar: Standard white vinegar from your pantry. You’ll need 1 teaspoon per dye color.
- Hot Water: About 1/2 cup per dye color. Hot tap water is sufficient.
- Glasses or Bowls: One for each color you plan to create.
- Slotted Spoon or Whisk: For carefully placing and removing eggs from the dye baths.
Choosing the Right Food Coloring
Not all food coloring is created equal. Understanding the different types can help you achieve the best results when learning how to make dyed eggs with food coloring.
- Liquid Food Coloring: Found in most grocery stores, liquid food coloring is a reliable choice. It typically comes in standard colors like blue, red, yellow, and green, which can be mixed to create a variety of hues.
- Gel Food Coloring: Gel food coloring, particularly the Wilton brand, offers concentrated color and excellent results. Available at craft stores, Target, and online, Wilton gels dissolve easily and produce vibrant shades.
- Avoid: Some gel food colorings in small tubes may not dissolve well in the vinegar and water mixture, leading to uneven dyeing.
Preparing Your Eggs for Dyeing
Whether you choose to use raw or hard-boiled eggs, proper preparation enhances the dyeing process.
Hard-Boiling Eggs:
- Place eggs in a large saucepan and cover with water.
- Bring the water to a boil over medium heat.
- Once boiling, cover the pot, remove it from the heat, and let it sit for 10-12 minutes.
- Drain the hot water and rinse the eggs with cool water to stop the cooking process.
Vinegar Rinse (Optional): Dipping the eggs in a diluted vinegar solution before dyeing can help the dye adhere more evenly, especially with blues and purples. If you’re not overly concerned about perfection, you can skip this step. Remember that each egg dyes differently, adding to their unique charm.
Step-by-Step Guide: How To Dye Easter Eggs with Food Coloring
Now, let’s get to the fun part: the actual dyeing! Follow these steps to create beautiful, vibrant Easter eggs:
- Prepare the Dye Bath: In a glass or bowl, combine 1/2 cup of hot water and 1 teaspoon of white vinegar.
- Add Food Coloring: Refer to the color formulas below for specific drop counts and color combinations. Stir well to ensure the food coloring is fully dissolved.
- Dye the Eggs: Gently lower an egg into the dye bath using a slotted spoon or whisk. Leave it in the dye for the amount of time specified in the color formula to achieve the desired shade.
- Remove and Dry: Carefully remove the egg from the dye bath and place it on a drying rack or an upside-down egg carton to dry.
Remember, you can reuse dye baths and add more food coloring to create new colors as you go.
Color Formulas: Unleash Your Creativity
Here are some formulas to get you started. The immersion time will greatly effect the resulting colors!
Pinks & Purples:
- Bubblegum: 5 drops pink, 30 seconds or less
- Fuchsia: 5 drops pink, 3 minutes
- Lilac: 5 drops pink + 5 drops purple, 30 seconds or less
- Orchid: 5 drops pink + 5 drops purple, 3 minutes
- Ultraviolet: 5 drops purple, 3 minutes
- Grape: 10 drops purple, 5 minutes
- Lavender: 5 drops purple, 30 seconds or less
Blues:
- Periwinkle: 5 drops blue + 5 drops purple, 30 seconds or less
- Cornflower: 5 drops blue + 5 drops purple, 3 minutes
- Cobalt: 5 drops blue + 5 drops purple, 5 minutes
- Navy: 5 drops blue + 5 drops purple, 5 minutes (Brown Egg)
- Sky: 5 drops blue, 3 minutes
- Robin’s Egg: 5 drops teal, 30 seconds or less
- Aqua: 5 drops blue, 30 seconds or less
- Turquoise: 5 drops teal, 3 minutes
- Peacock: 5 drops blue, 5 minutes (Brown Egg)
Greens:
- Mint: 5 drops teal + 3 drops green, 30 seconds or less
- Teal: 5 drops teal + 3 drops green, 3 minutes
- Emerald: 10 drops teal + 10 drops green, 3 minutes
- Shamrock: 5 drops teal + 10 drops green, 3 minutes
Yellows, Oranges & Reds:
- Evergreen: 5 drops teal, 5 minutes (Brown Egg)
- Olive: 10 drops green, 5 minutes (Brown Egg)
- Chartreuse: 5 drops green, 3 minutes
- Celery: 5 drops green, 30 seconds or less
- Butter: 10 drops yellow + 3 drops green, 30 seconds or less
- Sunshine: 10 drops yellow + 3 drops green, 3 minutes
- Daffodil: 5 drops yellow, 30 seconds or less
- Marigold: 5 drops yellow, 3 minutes
- Peach: 5 drops orange, 30 seconds or less
- Creamsicle: 5 drops orange, 3 minutes
- Tangerine: 5 drops orange + 5 drops yellow, 3 minutes
- Mustard: 10 drops yellow + 3 drops green, 5 minutes (Brown Egg)
- Salmon: 10 drops yellow + 5 drops red, 30 seconds or less
- Coral: 10 drops orange + 5 drops red, 3 minutes
- Rust: 10 drops orange + 5 drops red, 5 minutes (Brown Egg)
- Watermelon: 5 drops red, 30 seconds or less
- Candy Apple: 10 drops red + 5 drops yellow, 5 minutes
- Neon: 5 drops red + 5 drops pink, 3 minutes
- Berry: 5 drops pink, 3 minutes (Brown Egg)
- Wine: 5 drops pink + 5 drops purple, 5 minutes (Brown Egg)
Dyeing Brown Eggs: Embrace Rich, Jewel Tones
Yes, you can dye brown eggs! The resulting colors will be deeper and more jewel-toned. Keep in mind that brown eggs have varying shades, so the formulas might produce slightly different results. When dyeing brown eggs, check frequently to monitor color development.
Tips for Drying Your Dyed Eggs
Achieving evenly dried eggs can be tricky. Here are a few methods to prevent uneven coloring:
- Gently patting down with a rag: Removes excess dye quickly, though it may slightly lighten the color.
- Cooling Rack: Set eggs on a cooling rack, but be aware of potential grid marks.
- Toothpick “Stand”: Insert toothpicks into a piece of styrofoam and use them to hold the eggs upright.
- Upside Down Egg Carton: Less effective but a viable option.
What to Do With Your Beautifully Dyed Eggs
Once your eggs are dyed and dry, showcase them in an Easter basket, incorporate them into a festive centerpiece, or add them to a delicious Easter brunch board.
Beyond Food Coloring: Other Egg Decorating Ideas
Looking for even more creative ways to decorate Easter eggs? Consider using paint, temporary tattoos, or even sprinkles for unique and personalized designs.
With these tips and techniques, you’re now equipped with the knowledge of how to make dyed eggs with food coloring and create stunning Easter decorations. Happy dyeing!