Craving homemade pie but dreading the crust? Learn how to make a flaky, delicious pie crust in a food processor with this easy step-by-step guide! This method is faster and simpler than traditional methods, perfect for busy bakers.
Sometimes, you just need a shortcut without sacrificing quality. If you’re short on time or patience, using a food processor is the perfect solution for creating an all-butter pie crust that’s both flaky and flavorful. While it requires a bit of attention to avoid over-processing, this method significantly reduces the effort required for a delicious homemade pie.
Why Use a Food Processor for Pie Crust?
Making pie crust in a food processor offers several advantages:
- Speed: It’s significantly faster than cutting butter into flour by hand.
- Ease: Requires less physical effort.
- Consistency: Helps create a more uniform dough, leading to a flakier crust when done right.
Ingredients You’ll Need
- 2 ½ cups all-purpose flour (300 grams)
- 1 tablespoon granulated sugar (optional, but enhances flavor)
- 1 teaspoon salt
- 1 cup (2 sticks or 226 grams) cold unsalted butter, cubed
- ⅓ cup ice water (80 ml)
Step-by-Step Guide: Making Pie Crust in a Food Processor
Follow these simple steps to create a perfect pie crust every time:
Step 1: Combine Dry Ingredients
Place the flour, sugar (if using), and salt in your food processor fitted with the metal blade. Pulse a few times to combine. This ensures the salt and sugar are evenly distributed.
Step 2: Add Cold Butter
Add the cold, cubed butter to the food processor. Pulse the mixture 3-5 times until the butter is broken down into pea-sized pieces. It’s okay to have some slightly larger pieces – these contribute to flakiness. The key is to keep the butter cold and not over-process.
Step 3: Incorporate Ice Water
With the food processor running, slowly drizzle in the ice water. Continue processing until the dough just begins to come together. You’ll notice the sound of the food processor changing as the dough starts to form.
Step 4: Avoid Over-Processing
This is crucial! Stop processing before the dough forms a complete ball. It should still look somewhat crumbly, but hold together when pinched. Over-processing will develop the gluten and result in a tough crust.
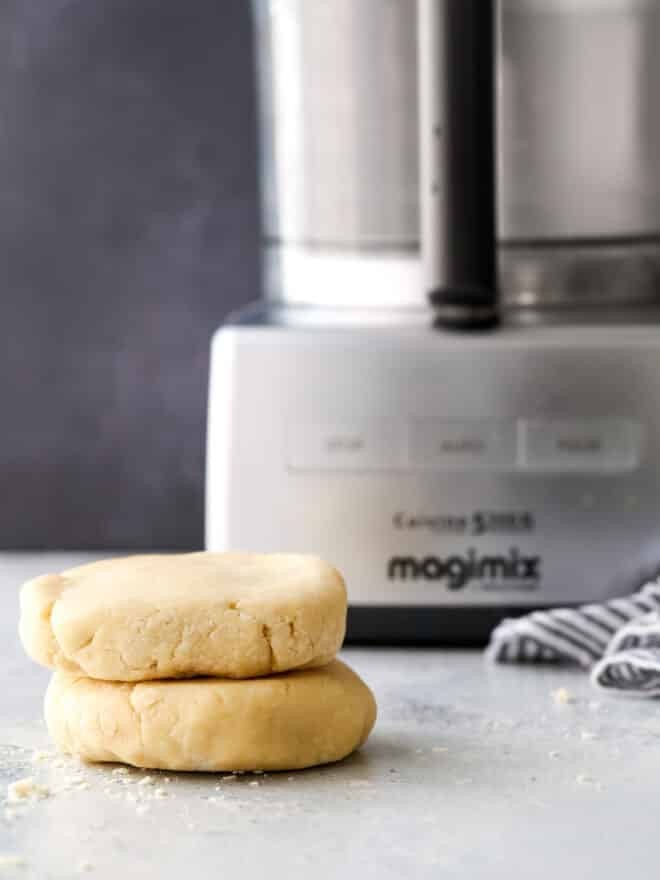
Step 5: Form Disks and Chill
Turn the dough out onto a lightly floured surface. Gently gather it into two equal disks. Wrap each disk tightly in plastic wrap and chill in the refrigerator for at least 1 hour, or up to 5 days. This chilling period allows the gluten to relax, resulting in a more tender crust.
Tips for a Perfect Pie Crust
- Keep everything cold: Cold ingredients are essential for a flaky crust. Use ice water and make sure your butter is very cold.
- Don’t over-process: This is the most common mistake. Stop processing as soon as the dough comes together.
- Chill the dough: Chilling allows the gluten to relax and the butter to solidify, preventing a tough crust.
- Use a kitchen scale: For consistent results, use a kitchen scale to measure your ingredients.
Storing Pie Crust
Pie crust can be stored in the refrigerator for up to 5 days or frozen for up to 2 months. If freezing, double wrap the disks in plastic wrap to prevent freezer burn. Thaw the dough in the refrigerator overnight before using.
Time to Bake!
Now that you know How To Make Pie Crust In A Food Processor, you’re ready to bake some delicious pies. This method will save you time and effort while still delivering a flaky, flavorful crust that will impress your family and friends. Happy baking!