Emojis have taken over our digital world, adding a dash of fun and emotion to our everyday conversations. Now, this playful trend has made its way into the kitchen, transforming ordinary treats into delightful and expressive creations. If you’re looking for a creative and engaging way to bake, especially to encourage kids to enjoy their fruits and vegetables, look no further than Food Emoji cookies! This guide will show you how to create adorable fruit and vegetable emoji cookies that are as fun to make as they are to eat.
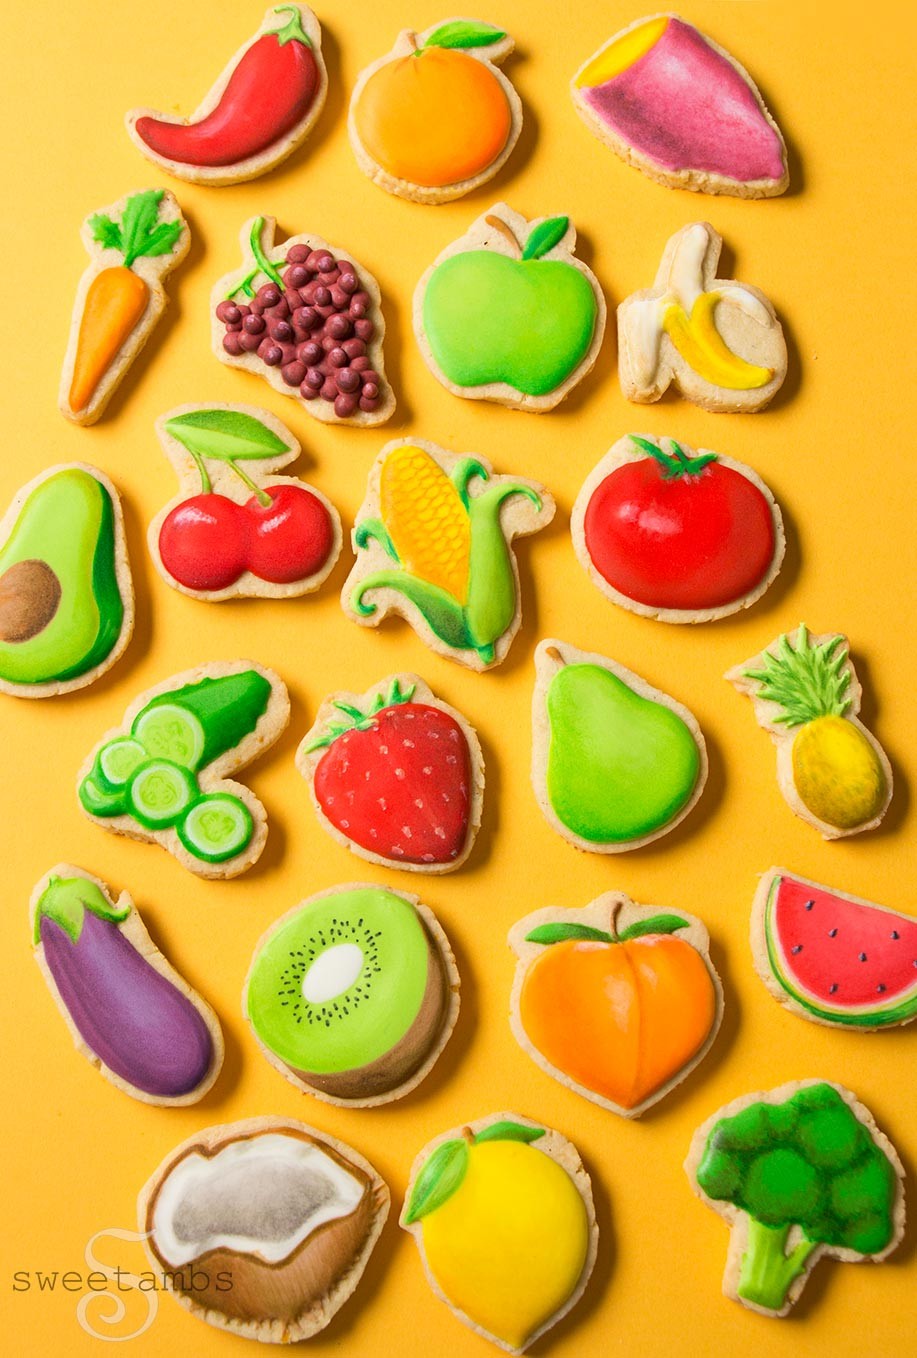
These fruit and vegetable emoji cookies are not only a fantastic baking project, but they are also a clever way to make healthy foods more appealing, particularly to children. Imagine the smiles you’ll get when you present a batch of cookies decorated as cheerful corn, happy broccoli, or a cool coconut! My personal favorites from this set are the corn and broccoli emojis, and I also adore how the coconut cookie turned out. Recently, I shared a cute moment on Instagram about my daughter calling corn “kern,” and it’s just the sweetest thing to hear her say it with such confidence, “KERN!”.
Creating these cookies is a delightful process, and while it may seem like it takes a long time (this project was spread over several days!), the joy of seeing these emoji faces come to life on cookies is truly rewarding. To help you embark on this exciting baking adventure, here’s everything you’ll need to get started.
Here’s your supply list to create these fun food emoji cookies. You can conveniently find these supplies at online retailers such as Amazon.
- Roll-out cookie dough (Use your preferred recipe or find a reliable one online)
- Emoji templates (Easily found with a Google image search for “food emoji cookies”, print them in your desired size)
- Flood Consistency Royal Icing (Essential for smooth cookie decorating)
- “Tipless” decorating bags (For precise icing application)
- Scribe tool (Helps in shaping and detailing the icing)
- Edible ink marker (Specifically for adding fine details like kiwi seeds)
- Food coloring: Wilton Color Right set (A variety of colors for vibrant emojis)
- Crystal Colors Snowflake powdered food coloring (For adding subtle highlights)
- Decorator brushes (For painting details on the icing)
- Paint palette (For mixing edible paints)
- Grain alcohol, vodka, or extract (For thinning food coloring and quick drying when painting on royal icing)
Now, let’s dive into the steps to bring your food emoji cookies to life:
- Icing the Base: Begin by applying flood consistency royal icing to your baked cookies. This creates a smooth canvas for your emoji designs.
- Shaping with Precision: Use a scribe tool to gently guide and shape the royal icing as it settles. This helps achieve clean edges and defined emoji forms.
- Drying Time: Allow the royal icing to dry completely. This is crucial before moving on to the painting stage to prevent colors from bleeding and ensure crisp lines.
- Mixing Edible Paints: Prepare your edible paints by mixing food coloring with grain alcohol, vodka, or a flavored extract. Alcohol or extracts help the paint dry quickly on the royal icing and prevent the icing from dissolving.
- Adding Shades and Details: Use your prepared edible paint to add shading and depth to the dried icing. This step brings your flat iced cookies to 3D emoji life, adding character and expression.
- Repeat and Create: Continue the painting and shading process on all your cookies, transforming each one into a unique fruit or vegetable emoji.
- Highlighting for Pop: For the final touch, use white powdered food coloring to add highlights. This makes certain areas pop and enhances the overall visual appeal of your emoji cookies.
By following these steps, you’ll be well on your way to creating a batch of delightful and expressive food emoji cookies. These are perfect for parties, fun snacks, or even as a creative project to do with kids. Get ready to impress everyone with your adorable and tasty food emoji creations!
Waffle cookies displayed as a related project